Data mailbox settings
On the left panel in the Entities screen (), make sure the entity you want to edit is selected in the Entities list. Then go to Menu and click Data mailbox settings. The screen Data mailbox settings (entity name) is displayed on the right. It lists the entity’s data mailboxes (if there are any).
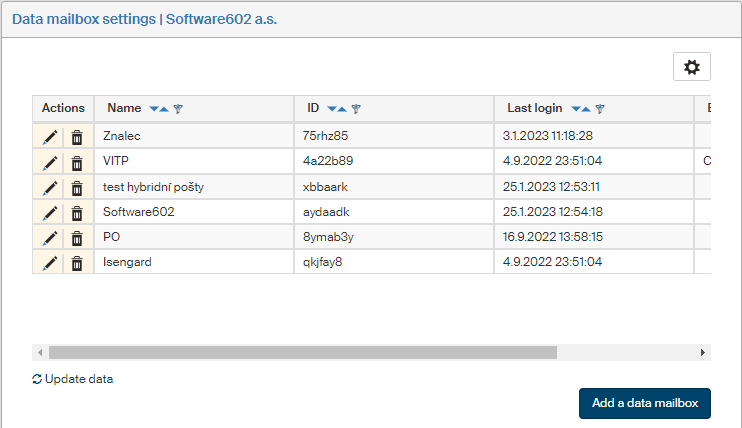
The list includes their basic details, and you can add new mailboxes here.
Adding data mailbox access details
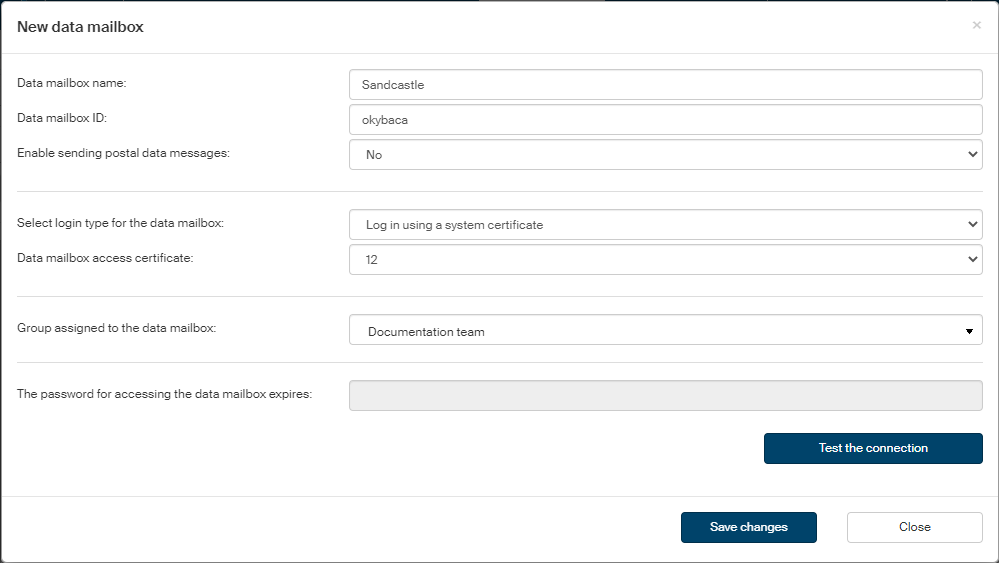
Click Add a data mailbox to open the dialog New data mailbox, where you can add the details of another data mailbox and its properties.
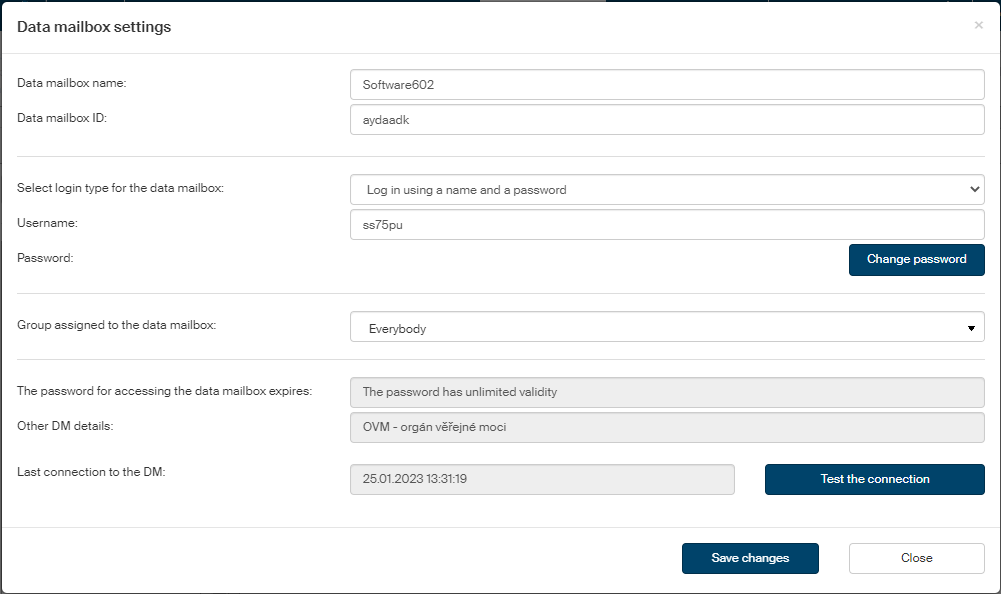
Data mailbox details
-
In field Data mailbox name, enter the name that will be displayed in data mailbox lists.
-
In Data mailbox ID, enter the mailbox ID assigned to the data mailbox by the data mailbox system.
-
In Enable sending postal data messages, select whether data messages can be also sent to any data mailboxes (Yes) or public administration bodies only (No).
Next, set up the login details. In Select login type for the data mailbox, select the login method to be used, and then fill in the corresponding details.
Logging in using a name and a password
If you select Logging in using a name and a password:
-
Enter the access login name to the data mailbox in Username.
-
Enter the corresponding Password.

Logging in using a system certificate
Select Log in using a system certificate to access the data mailbox using a commercial system certificate.
The certificate must be configured in the Certificates section. Now simply select which certificate to use from the list Data mailbox access certificate.

Logging in using a hosted records management service certificate
To use a hosted service certificate, select Log in using a hosted records management service certificate.
The certificate must be configured in the Certificates section. Now simply select which certificate to use from the list Data mailbox access certificate.

Connection test
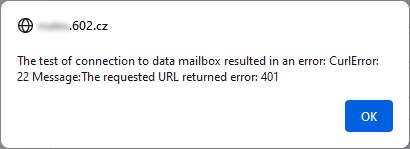
Click Test the connection to run an immediate data mailbox connection test using the current parameters. The test result is displayed as a message box.
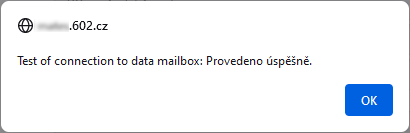
If the connection was successful, its details will be displayed in field Last connection to the DM.

If the data mailbox connection failed, the corresponding error message is displayed.
Editing data mailbox details
The buttons in the Actions column provide the following features for the data mailbox:
-
 Edit data mailbox settings – displays a dialog to edit the data mailbox properties.
The lower part displays read-only details from this data mailbox operation.
Edit data mailbox settings – displays a dialog to edit the data mailbox properties.
The lower part displays read-only details from this data mailbox operation. -
 Delete data mailbox – deletes the data mailbox entry from the list.
Sending using another entity’s mailbox
If the selected entity does not have a data mailbox set up, you can set up proxy sending through a data mailbox of another entity.
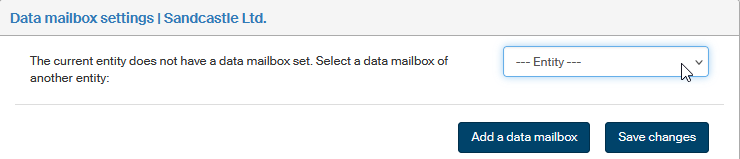
In Entity, select the entity who will provide the mailbox. The list offers only the entities that have a data mailbox configured.
Select Save settings to confirm.

You can change this setting to another entity or remove it entirely as you need. To remove the setting, set the option to --- Entity --- a and select Save changes.
This setting is also removed if you use the button Add a data mailbox to enter the details of a specific data mailbox for this entity.