Relations
Documents stored in the document section of FormFlow can have various types of relation – e.g. an original and a copy, a parent (superior) document and child ones, etc. One of the related documents is always listed as the primary document and the other documents are then bound to it. A similar binding can be applied to records or contacts from the Address book.
You can view and edit relations in the Relations dialog.
Open it by selecting the  Relations button either in the Actions column or in the bulk operations for the corresponding list, or in the upper right corner when viewing a form.
Displaying the Relations dialog
You can view existing relations of a selected document in the Relations dialog. There are various ways to display it, either from the document list, or directly from the document form.
The Relations button in lists
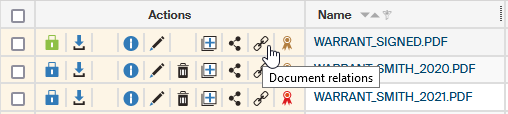
To open the Relations dialog, select the button Document relations (Record relations, Process relations or Contact relations, based on the context) in the Actions column. This button is available in lists on the Documents, Processes, Records management (Documents from RMS and Records) and Address book tabs.
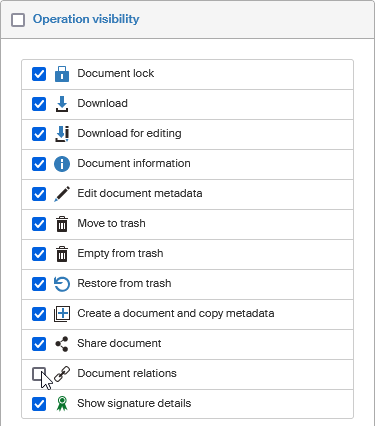
The Document relations button is hidden by default. If you can’t see it in the Actions column, set its visibility using a filter, on the Columns tab. (The setting is described in chapter Operation visibility).
The Relations button in the Bulk operations window
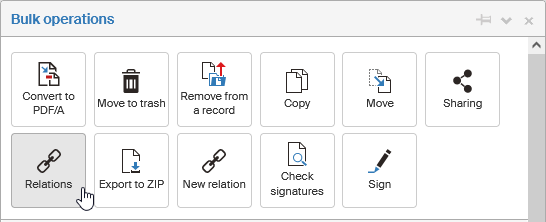
Another way of opening the Relations dialog is using the Relations button in the Bulk operations window on a document.
The Relations button in the Edit document window and in forms
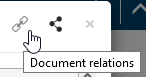
You can also open the Relations dialog from the detail of a specific document or form. Select the Relations button in the upper right corner of the screen.
Where you can find the button:
-
On the Documents tab: In window Edit document, which you can open for example from the document list by selecting
 Edit document metadata.
 -
In Records management: In the upper right corner of Electronic records management and Controlled documentation forms.
-
In Address book: In the upper right part of the header in Editing a subject window, that is, when editing an already saved contact.

The icon color indicates whether the document already has a relation. If not, the relation icon is gray. If the document already has a relation, the icon is displayed in black. In both cases clicking the icon will open the Relations window that displays the relations, if there are any, and the controls to create a new one.
| Older versions of FormFlow displayed the relation details directly in the Edit document window or as a separate section in the Electronic records management form. The Relations dialog now replaces these sections. |
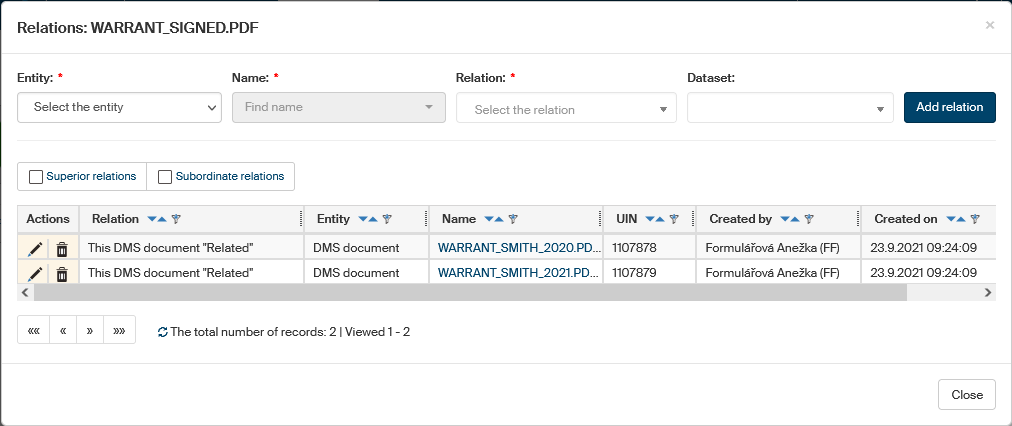
The Relations dialog
Click the Relations button to display a window with a list of related entities: for example documents, processes or contacts. Each row in the table corresponds to one related entry and displays its details.
You can select the ![]() Delete button next to an entry to delete the relation.
Delete button next to an entry to delete the relation.
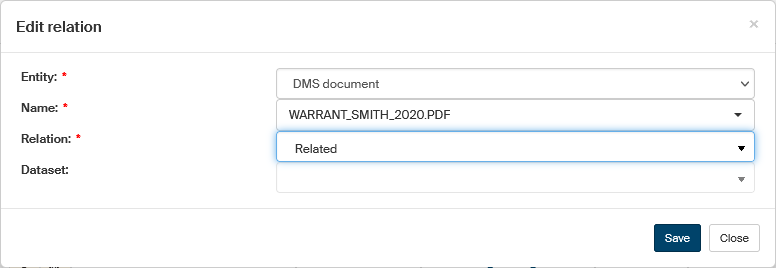
Use the ![]() Edit button in the Actions column to edit the relation properties.
This is done in the Edit relation dialog. In the dialog, change the details you want changed, and select Save to confirm the changes.
Edit button in the Actions column to edit the relation properties.
This is done in the Edit relation dialog. In the dialog, change the details you want changed, and select Save to confirm the changes.
Creating a new relation
Creating a new relation in the Relations dialog
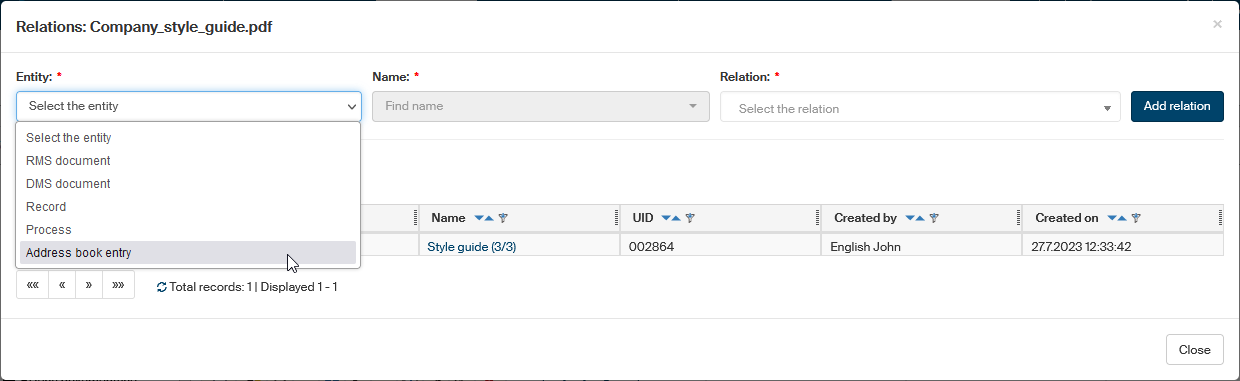
The upper part of the Relations dialog contains the controls to create a new relation. To create a new relation, enter the required values in these fields.
-
Entity – the type of object to enter in the relation:
-
ESS document – a document registered in the records management;
-
DMS document – a document registered in the document section of FormFlow;
-
Record registered in the records management;
-
Process – a form from the process section of FormFlow;
-
Address book entry – a contact in the Address book.
-
-
Name – once you select the entity, use this field to look up a specific entry to enter in the relation. The autocomplete function will help you to look up the entry easily.
-
Select the relation type in the Relation field (e.g. parent or child document, etc.). The FormFlow administrator sets up the available relation types.
Then click Add relation to confirm the details and create the new relation.
Creating a new relation in the document or record list
Another way of adding a new relation is using the bulk operations in the list of documents or records, either on the Documents tab or on the Records management tab. This option allows you to create a relation to several items at the same time – attach more than one entity to the same primary document or record.
-
To create a relation, start by specifying the primary document. Select it by checking the box in the leftmost column.
-
In the Bulk operations window, select New relation.
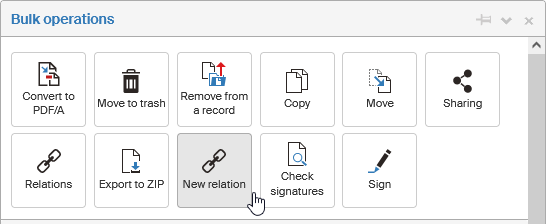 The New relation button in Bulk operations
 A message in a green frame confirming the selection of the primary document
 -
Check the box in the leftmost column for all the documents to be attached to the primary document in relation. The Bulk operations window is displayed again, and now it contains the section Continue creating the relation.
-
Check the list of documents to be included in the relation – the Primary document and the Selected documents you have checked now.
-
Click Select the type of relation and choose the relation to create between the primary document and the selected documents from the list.
-
Then click Create a relation to complete the operation. The message The relation has been created will notify you that the operation has successfully completed.
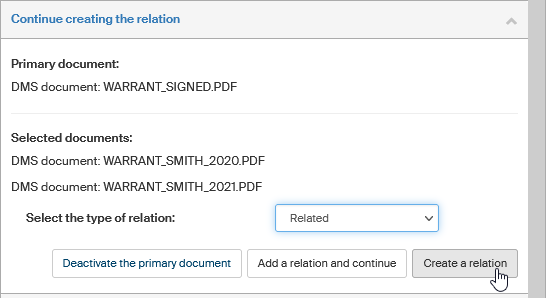 Section Continue creating the relation
Other options of finishing the relation setup:
-
If you would like to continue creating more relations with the same primary document, do not click the Create a relation button. Instead, select Add a relation and continue. The primary document setting will stay set, and you can select more documents to attach to it.
-
If you decide not to continue creating relations at this point, select Deactivate the primary document to cancel the primary document selection.