Office templates
You can insert and manage templates for Office documents using the screen Administration of Office templates (). Using the templates, users can easily insert in the system standardized documents that only differ in specific details. There are two types of templates you can create:
-
Document templates – used for standalone documents to be inserted to FormFlow in the Documents section. The user inserting the document selects the template and enters the document metadata. The template can use the entered metadata to create the resulting document.
-
Process templates – used for documents inserted in the forms in the process part of FormFlow. The template can use data entered in the form and can be used e.g. as a form printing template.
The administration contains another tab in addition to these two, Groups of document templates, to be used to create a structure for storing the document templates. Every document template must be placed in a group. Conversely, process templates are not placed in any groups.
Groups of document templates
The tab displays a table with a list of existing groups of document templates. The groups contain a single detail, which is their name. The Actions column displays several buttons to manage the groups:
-
 Edit the group of document templates – displays a dialog window where you can change the group name.
 -
 Delete the group of document templates – removes the group. The button is only available for the groups that do not contain any templates.
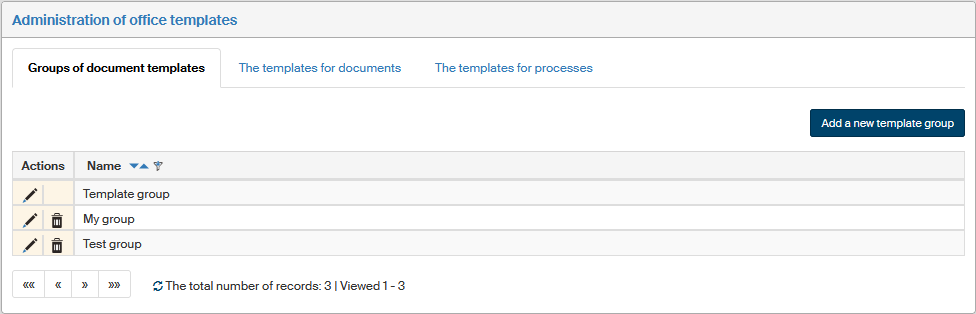
Use the button Add a new template group, placed on the right above the table, to create another group. The button will display a dialog window where you can enter the group name.
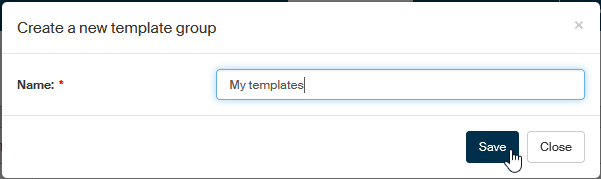
Click Save to confirm.
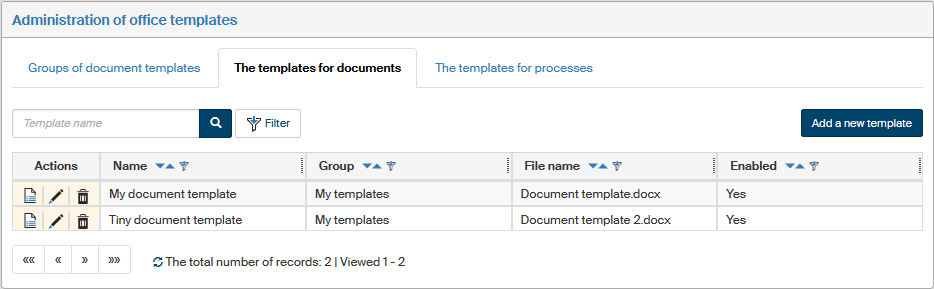
The templates for documents
The tab displays existing templates for document generation. The table contains their basic details, and the Actions column provides several management buttons:
-
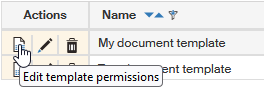
 Edit template permissions – displays the page with user access permission settings.
 -
Edit the template – displays a dialog window where you can edit the template details. It contains the same items as the dialog for creating a new template.
-
Delete the template – removes the template entry.
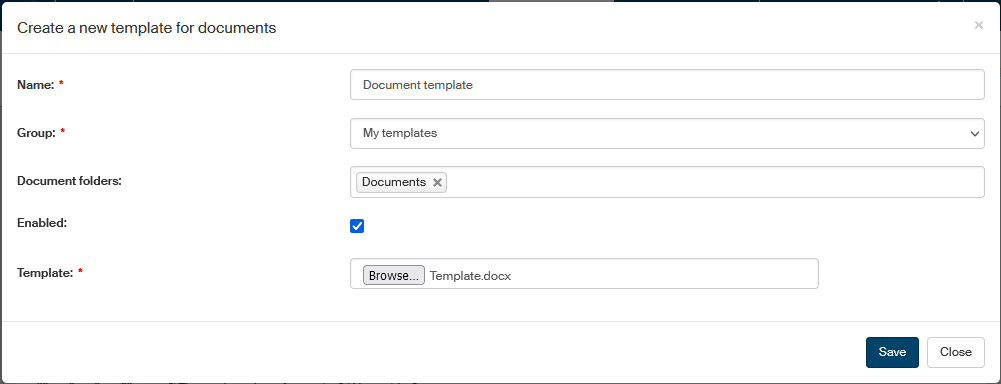
Creating a new template
To add another template, click the Add a new template button, placed on the right above the table. The button will display a dialog window where you can enter the template details:
-
Name – template name. It will be displayed in template selection dialogs. The length is limited to 50 characters.
-
Group – place the template in one of the groups created on the previous tab.
-
Document folders – folders on the Documents tab where the template will be available. You can select more than one folder.
-
Enabled – if checked, the template will be available in the folders specified in the field above.
-
Template – use this field to look up the template file on your computer. If the file has been inserted, you can click Download to save the file to the drive again.
Click Save to confirm.
User access permission settings
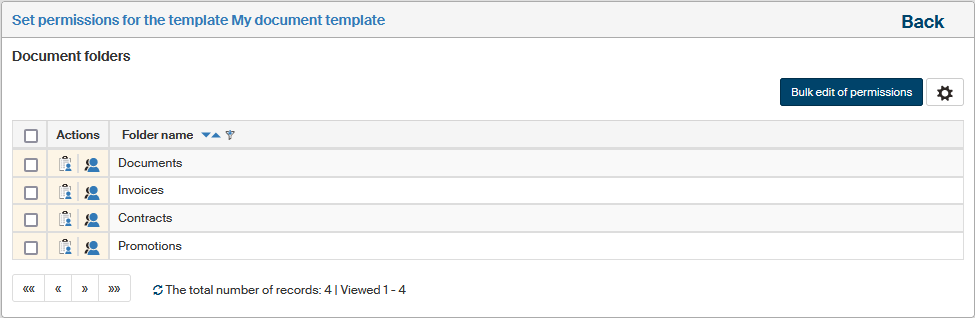
Click Edit template permissions to display the dialog Set permissions for the template xxx, where you can edit the permissions for all document folders where the template is available. You can set the permissions separately for each folder.
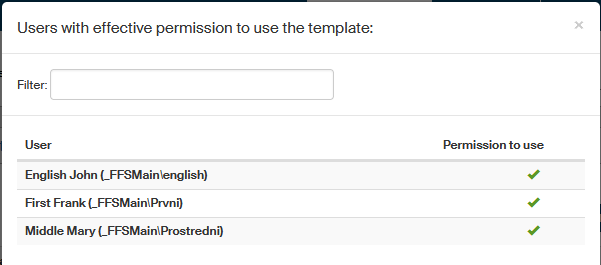
Click  Show effective permissions to display a dialog with all users who are authorized to use this template, either directly or through membership in a group/role.
To edit the permissions to a single specific folder, click  Set permissions in the Actions column next to the folder. A dialog is then displayed where you can grant permissions to users or whole groups and roles.
If you select the checkbox on the left for several folders and then click the Bulk edit of permissions button, a similar dialog will be displayed but the settings will apply to all selected folders.
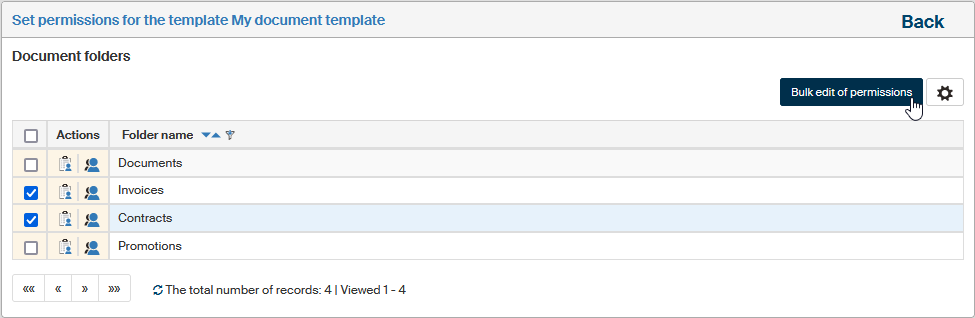
In such a case, the dialog header shows the text “Modify privileges for template … to folders” and, next to it, the button Show selected folders, which you can use to display a dialog window with a list of folders this setting will apply to.

Use the tabs in the upper part of the page to switch between a list of users and a list of groups and roles. A filter is also placed above the list, and you can use it to look up individual entries.

Edit the selection in column Permission to use for every entry (user, group or role) as needed. You can check the box in the column header to grant the permission (or uncheck to remove the permission) to/from all displayed users.
Then click the Modify permissions button placed above the list of users or groups to confirm any changes. Return to the list of folders by clicking the Back link in the upper right corner.
The templates for processes
The tab The templates for processes in screen Administration of Office templates displays existing templates for generating process documents.
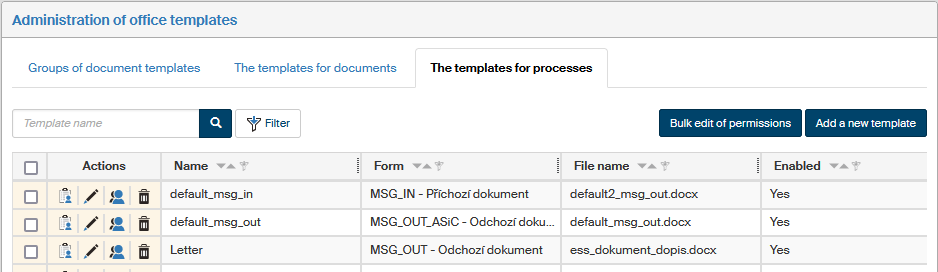
The table contains their basic details and the Actions column provides several management buttons:
-
Edit permissions – displays the page with user access permission settings.
-
Edit the template – displays a dialog window where you can edit the template details. The window contains the same items as the dialog for creating a new template.
-
 Show effective permissions – displays a dialog with a list of users who are authorized to access this template, either directly or through membership in a group/role.
 -
Delete the template – removes the template entry.
Creating a new template
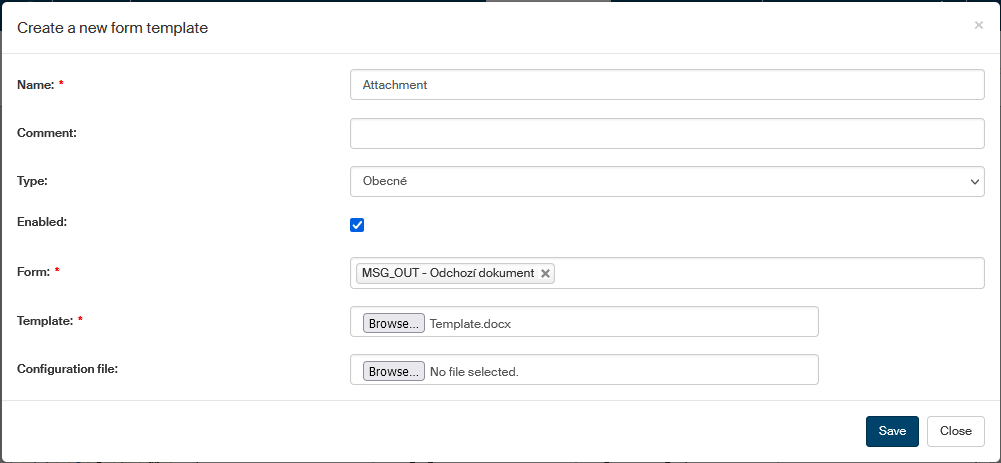
To add another template, click the Add a new template button, placed on the right above the table. The button will display a dialog window where you can enter the template details:
-
Name – template name. It will be displayed in template selection dialogs. The length is limited to 50 characters.
-
Comment – place any additional text here.
-
Type – use the template type to set the part of form where the template will be used. The form designer specifies, what template type is used at a specific place in the form (e.g. on a button). Besides attachments, forms can work e.g. with envelope printing templates.
-
Enabled– if checked, the template will be available in the corresponding forms.
-
Form – select the form to be used with the new template from the list of forms installed in FormFlow. When creating a new template, you can select more than one form; a separate entry will be created for each of them.
-
Template – use this field to look up the template file (an MS Office file) on your computer. If the file has been inserted, you can click Download to save the file to the drive again.
-
Configuration file – use this field to look up a file containing the configuration on your computer. If the file has been inserted, you can click Download to save the file to the drive again.
Click Save to confirm.
User access permission settings
To edit the permissions to a single specific template, click in the Actions column next to the template. A dialog is then displayed where you can grant permissions to users or whole groups and roles.
If you select the checkbox on the left for several templates in the process template list and then click the Bulk edit of permissions button, a similar dialog will be displayed but the settings will apply to all selected templates.
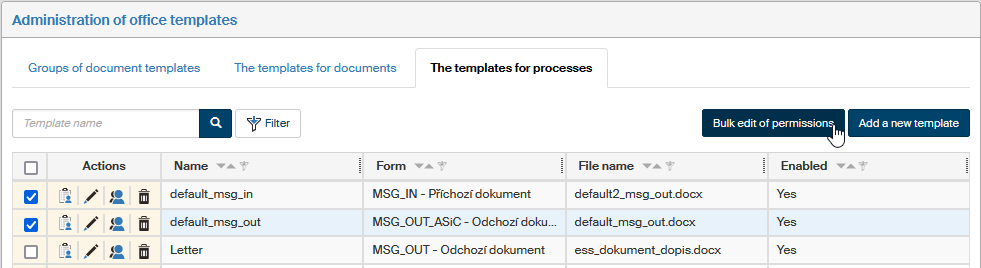
In such a case, the dialog header displays the button Show selected templates, which you can use to display a dialog window with a list of templates this setting will apply to.

Use the tabs in the upper part of the page to switch between a list of users and a list of groups and roles. A filter is also placed above the list, and you can use it to look up individual entries.
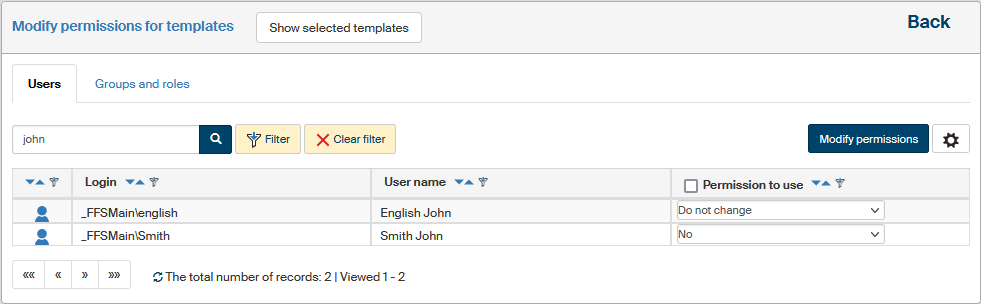
Edit the selection in column Permission to use for every entry (user, group or role) as needed. You can check the box in the column header to grant the permission (or uncheck to remove the permission) to/from all displayed users.
Then click the Modify permissions button placed above the list of users or groups to confirm any changes. Return to the list of templates by clicking the Back link in the upper right corner.