Downloading e-mail from Google
To configure downloading Google e-mail, you need to have set up a business e-mail (GSUITE) account from Google.
Log in to your Google account.
Opening the authorization portal
First you need to register the app in the authorization portal. Visit the following URL address:
The Google APIs window opens.
Creating a new project
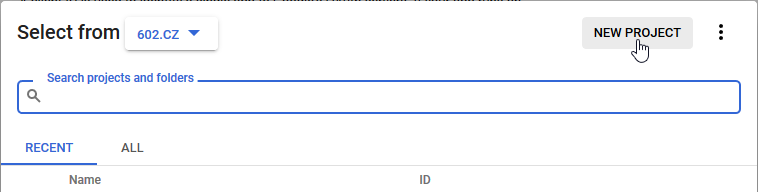
How to create a project, named e.g. FormFlow: On the upper left, in the Google APIs window header, click the item on the right from the GoogleAPIs title.

In the window that opens, click NEW PROJECT in the upper right corner.
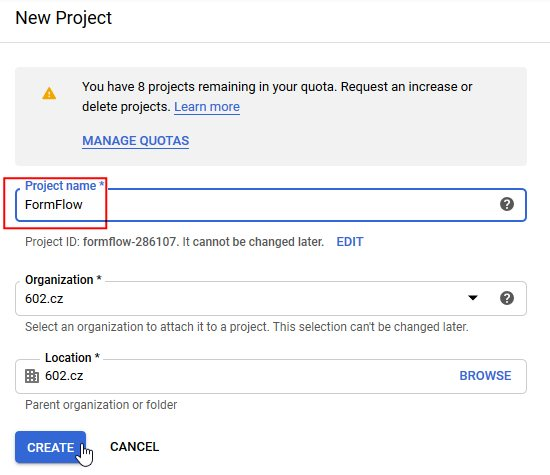
Name the project in the Project name field (in our case, it will be FormFlow). Keep the preset values in the Organization and Location fields. Click CREATE.
Authentication access
In the next step, set up who will be able to access the authentication.
-
Select CREATE to return to the Google APIs window.
-
On the left, select OAuth consent screen.
-
Switch User type in the right section of the window to External and select CREATE.
This provides access for your application’s internal users.

Setting up the consent on login
-
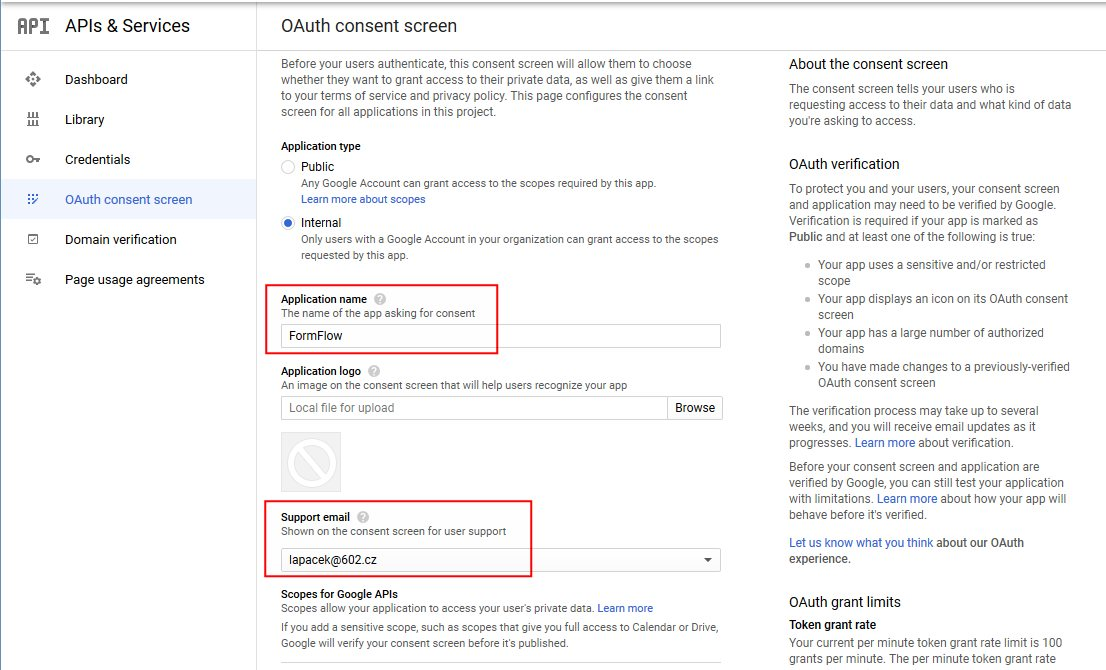
On the left, keep OAuth consent screen selected. On the right, a large section of the same name is now displayed.
-
Enter the project name in Application name (in our case, it is FormFlow). Your e-mail address should be entered in Support email – make sure it is correct.
-
Click Save to confirm the settings.
Creating the OAuth client ID authentication
-
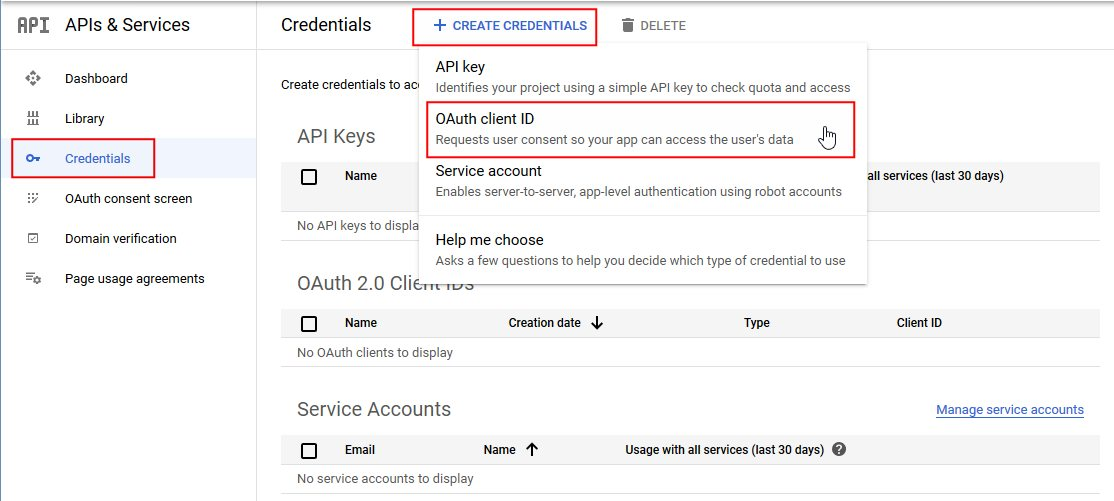
On the left in Google APIs, click Credentials. In the upper right corner in the section on the right, click + CREATE CREDENTIALS and select OAuth client ID from the menu.
-
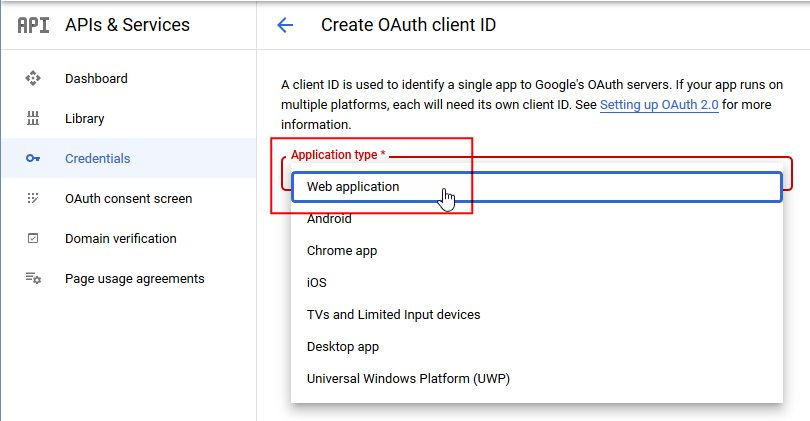
In Application type, select the option Web application.
-
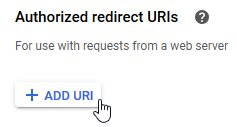
The next step is to enter the return URL address. In section Authorized redirect URIs, click + ADD URI.
-
The field URIs is displayed where you can enter your return URL. In our case, enter:
https://[FormFlow address]/index.php?action=getToken&presenter=ESS%3ASubjects(Replace the
[FormFlow address]string with the base URL of your FormFlow server.)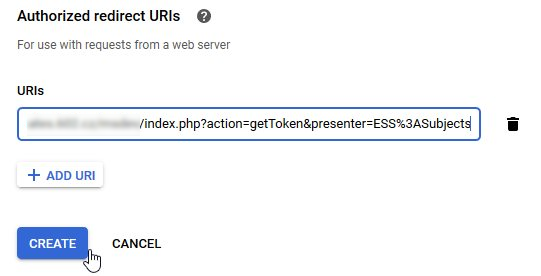
Click CREATE to complete the setup.
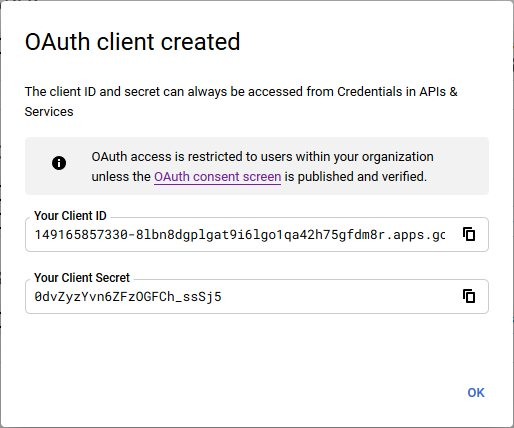
Important – note the authorization codes
The window OAuth client created is displayed. It contains two fields – Your Client ID and Your Client Secret. Note both the details and keep them safely stored. You can use the buttons on the right of each field to copy them.
Then click OK.
Enabling Gmail API
-
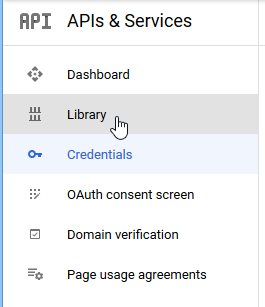
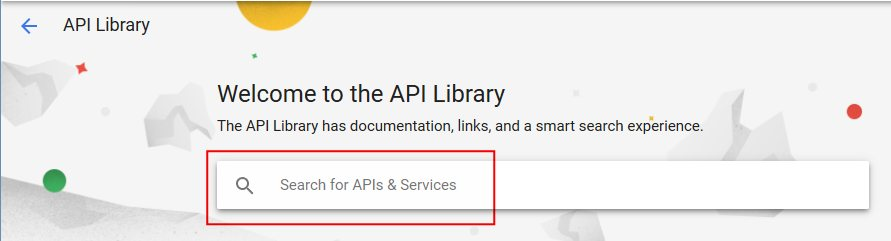
On the left in the Google APIs window, click Library.
-
Enter gmail in the search field.
-
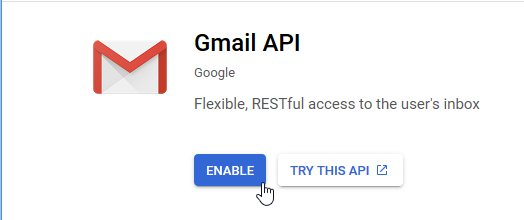
Select Gmail API from the search results.

-
Click ENABLE to enable Gmail API.
The API authorization is now complete. Now proceed to set up FormFlow.
FormFlow configuration
-
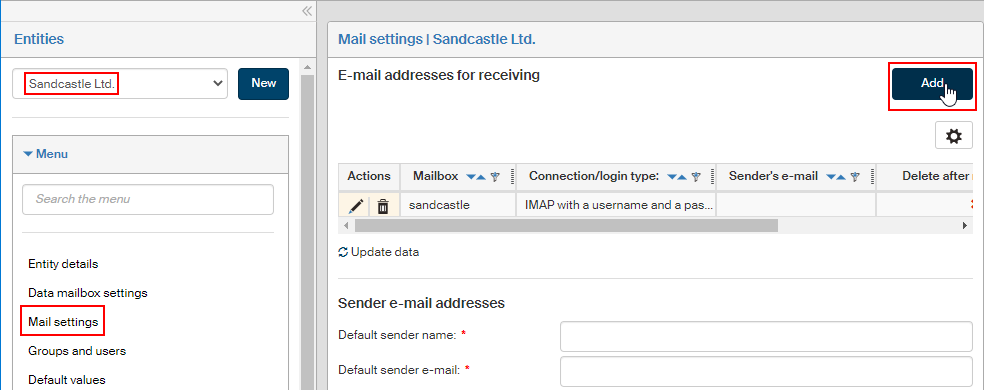
In FormFlow, open the Mail settings for the entity to use the Google download by going to .
-
In Mail settings, go to section E-mail addresses for receiving and click Add.
-
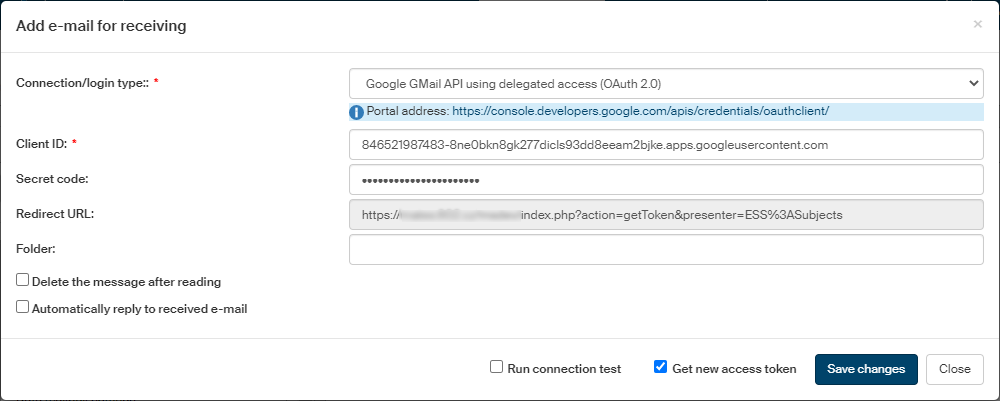
The dialog Add e-mail for receiving. Enter the following values:
-
In Connection/login type, select Google GMail API using delegated access (OAuth 2.0).
-
In Client ID and Secret code, copy the values you have created and saved in the previous chapter as Your Client ID and Your Client Secret.
-
The field Redirect URL is read only and the URL address is taken from FormFlow.
-
During authentication, two tokens will be created – access token and update token. The validity of the update token is longer. During each API call the tokens are loaded and if the access token is valid, access can be granted. If the access token is invalid, but the update token is still valid, a new access token is created and then an update token is created too with new validity expiry time. If you check Get new access token, the tokens will be refreshed on each access.
-
To download messages from a single folder in the mailbox, enter its name in the Folder field.
-
If you check Run connection test, the connection details will be tested immediately after you save this configuration.
-
-
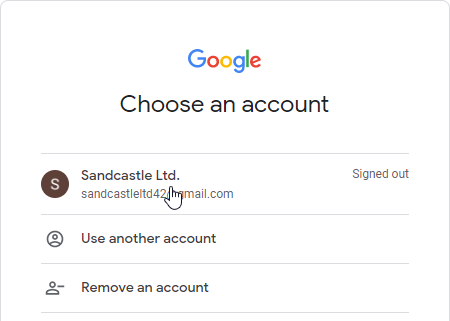
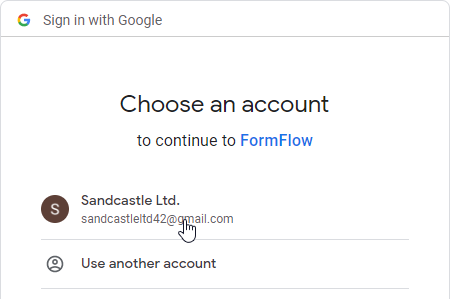
When you click Save changes, you will be asked to select your Google account.
-
Then the query The FormFlow application requests access to your Google account. If it is your setting, click Enable to grant the access.
-
A message in a green frame, The authentication process has successfully completed, will confirm that the access has been granted. If you have checked Run connection test, the test is run now and the result message is displayed, Successfully connected to the mailbox.
The new mail setting entry is added to the list E-mail addresses for receiving.