Message sending
Use this section to set up a one-time message sending outside a scheduled task from the Communication plan.
The Electronic records management can use one or more DMIS data mailboxes and one or more e-mail accounts. The identification details of these mailboxes must be registered in Entities.
On the left panel in the Entities screen (), make sure the entity you want to edit is selected in the Entities list. Then go to Menu and click Message sending. The screen Settings for sending new messages (entity name) is displayed on the right. The section contains a list of existing tasks, which you can edit or add to.
Creating a new task
To create a new message sending task, click Create a new task.

The task you set up here will run in the background at the time specified.
-
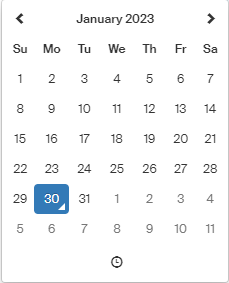
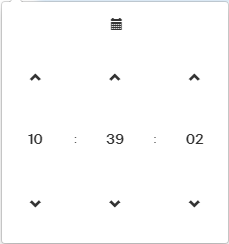
In field Run the message sending task, select the date and time to run the task. The control allows you to switch between the date setting and the time setting.
-
Click Run the task for sending messages to confirm the settings and queue the task.
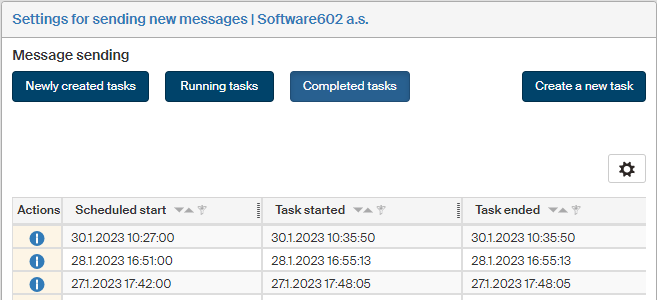
List of message sending tasks
There are several buttons to change the view of existing message sending tasks in the upper part of the screen Settings for sending new messages.
-
Click Newly created tasks to display the tasks set to run in the future.
-
Click Running tasks to display message sending tasks that are running right now.
-
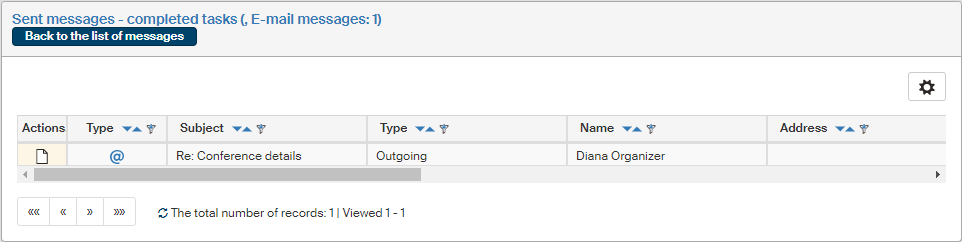
Click Completed tasks to display a list of past message sending tasks.
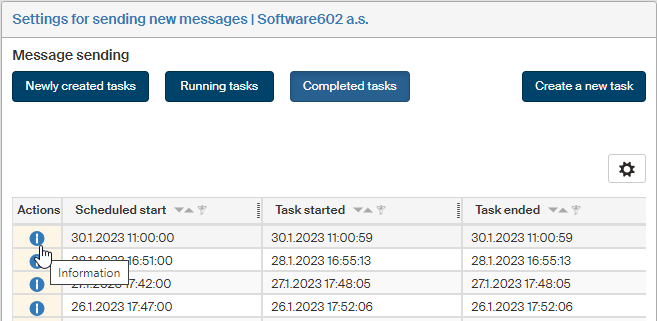
Click  in the Actions column to display details of a selected task.
Sending data messages using a specific data mailbox immediately
Data messages are sent regularly, based on the schedule described in chapter Communication plan. Sometimes users might need to send a message immediately, outside the preset interval. An administrator can do it easily by running the corresponding service. To provide this feature to other users too, it is possible to create a button for immediate message sending, and place the button on the toolbar, easily available to everyone.
Only a user in the Administrators group or a user with the SETUP_RIBBON role can create the button. Here is the procedure.
Start by opening the ribbon administration screen (). In the Ribbon Administration screen, click Records management.
Create a group
First, create the group for the new button. The procedure is described in chapter Creating a new group. If you have already created a group with the button for immediate message download, you do not need to create another group.
Creating the button (section)
To create the button, open the dialog the same way as in chapter Creating the button (section). Let us suppose that you have already created a message download button and want to add another button, Sending data messages, next to it.
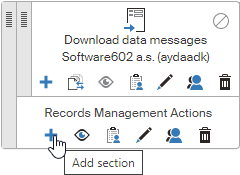
Click the “plus” button again, this time next to the group name (Add section). The dialog Create a section is displayed.
-
The section will become the download button. Enter its Czech, Slovak and English name in the first three fields. Example names:
-
Odeslání datových zpráv%lf%Software602 a.s. (aydaadk) -
Odoslanie dátových správ%lf%Software602 a.s. (aydaadk) -
Send data messages%lf%Software602 a.s. (aydaadk)
In the example, the data mailbox belongs to Software602 and its ID is aydaadk. Instead of the text in red, enter your own data mailbox details.
-
-
In Ribbon SID, enter essSendAydaadk – replace the text in red (data mailbox ID) by your mailbox ID.
-
In URL link, enter
/index.php?action=send&presenter=VIEW%3AViewReadSendDs&id_cert=4
and replace the text in red with the actual value.
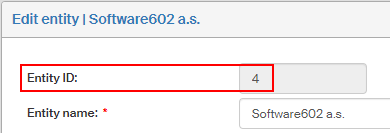
The id_cert entry is the entity ID. To find out the value, visit the screen Edit entity () and the value is displayed in the read-only field Subject ID.
-
In field URL link target, you can enter one of the variables used to specify hypertext link target. For example, entering
_blankwill make the ESS Documents window open in a new browser tab. -
Keep the Visibility to anonymous users set to Anonymous users cannot view.
-
In section Select an icon, you can choose one from a list of available icons to use as the button symbol.
Click Save to confirm the entered details. A message framed in green will notify you about a successful addition of the new button.
Button visibility and testing
To see the new button on the toolbar, switch its visibility on. This means that the eye icon in the section must be blue, not gray. Click the eye button to switch visibility.
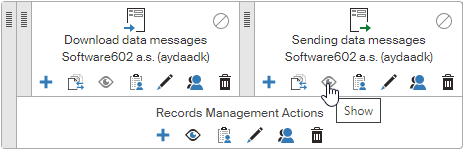
Now the new button is visible on the RECORDS MANAGEMENT tab, and you can test it.
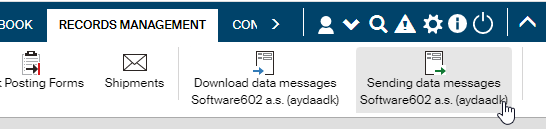
If everything runs as it should, a message in a blue frame is displayed.

Setting up button availability to users
To make the button available to other users, they need general access to the Records management – see the RECORDS MANAGEMENT tab. Then they can be given access to the buttons described. An administrator can grant the needed permissions.
The short version of granting access to Records management: grant membership in the Spisovna (records center) group.

Then, grant access to the buttons. It is possible to either grant access to each button separately or to the whole group.
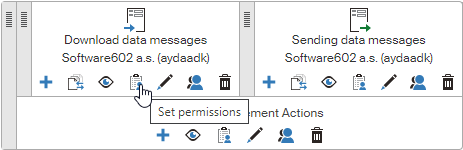
To grant access to a specific button, do the following: menu:ADMINISTRATION> Application settings> Ribbon> the Records management tab, Records Management Actions group], click the button Set permissions for the section (button) you want to give the user access to.
The following image shows giving access to the Downloading data messages button.
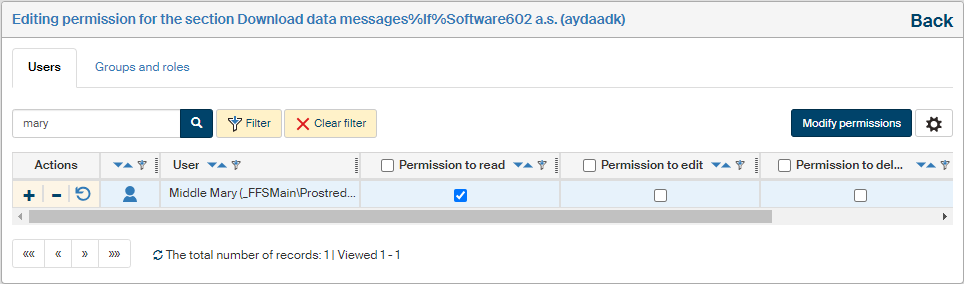
In window Editing permission to the section Downloading data messages…, use the filter to look up the user and check the box in the column Permission to read. Click Modify Permissions to save the setting. From now on, the user can open the RECORDS MANAGEMENT tab to see the Downloading data messages button and start using it.
Use the same procedure to give access to the other button (or other buttons in the group, if there are any).
To give access to all the buttons in the group – in our case, to both downloading and sending messages – click the Set permissions button directly in the group.
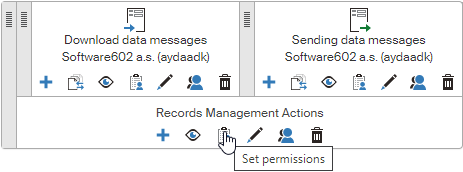
Look up the user using the filter, check Permission to read and click Permission change in the whole tree to confirm the setting.
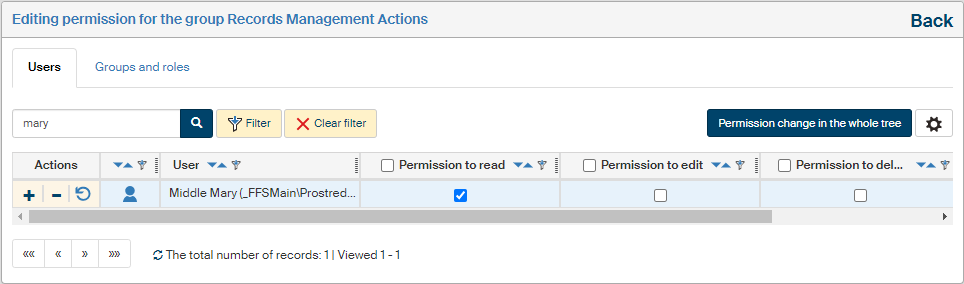
All buttons in the group will now be available to the user.