Exporting and importing settings
Visit the screen Export and import of settings () to export some FormFlow settings to an XML file or import it back from a file.
You can export the following data:
-
Process folders;
-
Document classes;
-
Document ranks;
-
Document statuses;
-
Document folders;
-
Operation permissions;
-
Ribbon items;
-
Controlled documentation;
-
Records management;
-
All.
The same categories are available for importing.
Besides them, it is possible to import a Configuration protocol, created by Software602 on a client’s request.
You can find Konfigurační_protokol_FF10.2_v10.2.3.xlsx in the distribution package at \docs\FF10.2\.
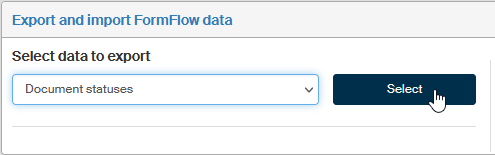
Exporting settings
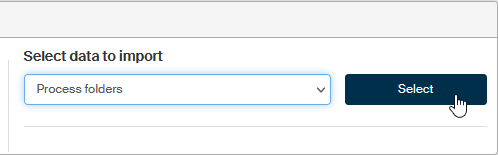
Start exporting the settings by selecting one of the categories in the field Select data to export. Click Select to confirm your choice.
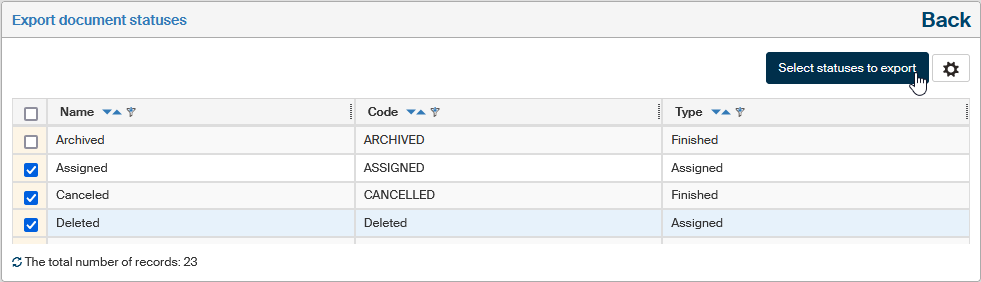
A page with details will be displayed. Its form depends on the selected category. For simple data, a table with a list of entries is displayed, and you can select which ones to export.
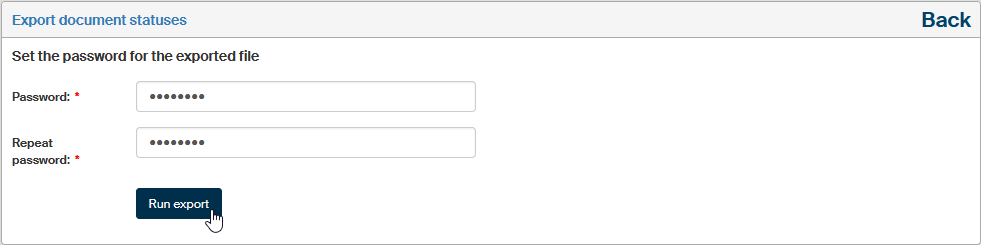
Click Export to display a password setting dialog. Enter the certificate password in the Password field and confirm the entered details by clicking Save certificate. Click Export. The system then generates an XML file with the data and offers it for download in a ZIP archive secured by the password you have entered.
If the data to export is more complex or contains more options, the export process consists of several steps in which you select which data to export. In such a case the upper part of the page displays a list of numbered and named steps.
Let us export some process folders as an example.
-
If the “>” symbol is displayed next to a folder, it means the folder does not contain subfolders. A folder symbol means there are subfolders in the folder.
-
Check Export subfolders automatically to include subfolders of selected folders in the export. In the next step, you will be able to exclude some of the subfolders. If you leave the box unchecked, no subfolders will be exported.
-
Check Export form templates to select which form templates to include in the export and which ones to exclude.

Click to check the box next to the folders to export.
Click the Select folders button to continue to the next step.
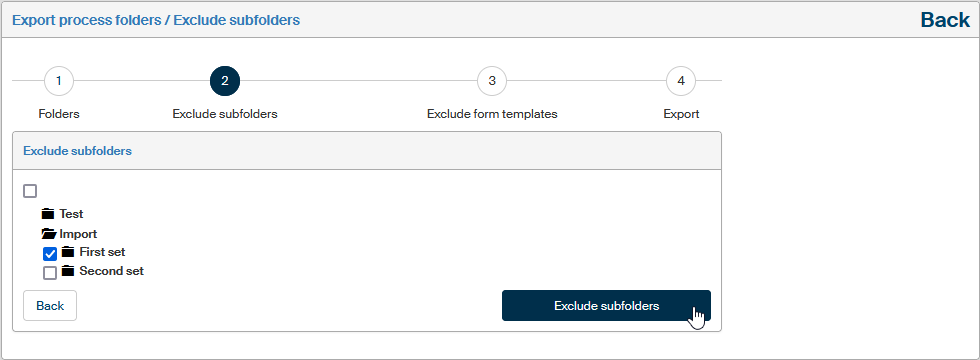
If you have checked Export subfolders automatically, this step will allow you to select which subfolders to exclude from your selected folders. Expand the folders by clicking the folder icon next to the folder name.
If you have checked Export form templates, the step Exclude form templates follows.
In this step you can check the form templates to exclude from the export (only unchecked templates will be exported).
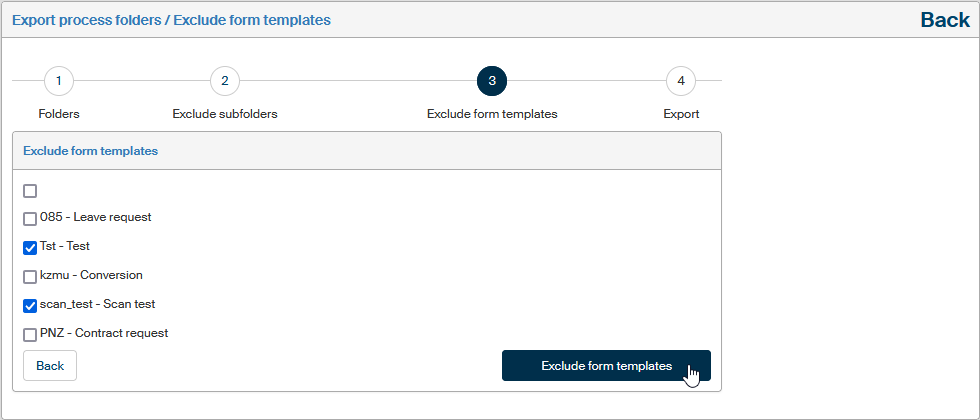
Click Exclude form templates to continue to the last step – setting summary.
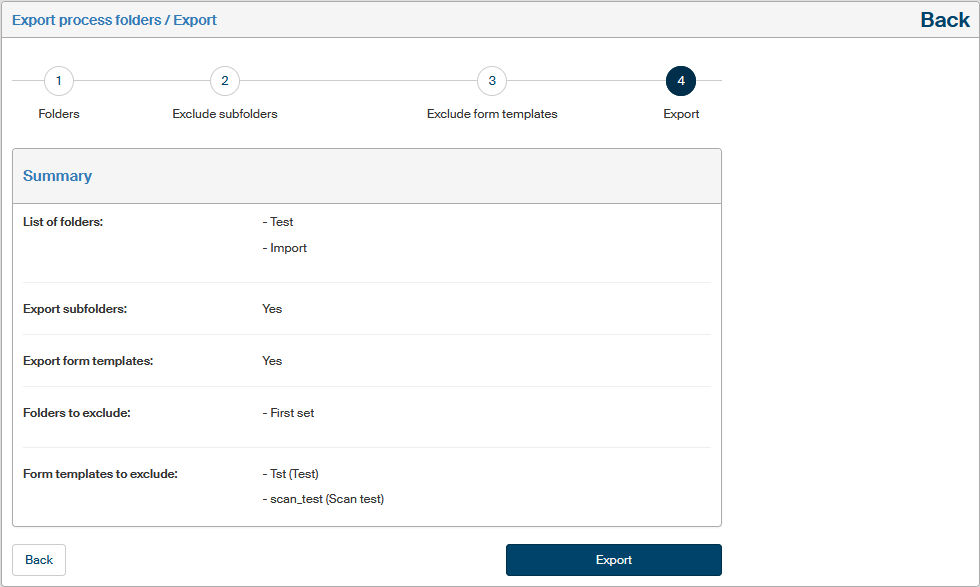
If you are not satisfied with the settings, click Back to return to the previous step and adjust the settings. This button is available in all the steps and can be used to return to any step in the procedure.
If you are satisfied with the settings, click Export to display the password setting dialog. Set the password and confirm it to run the export itself, with the settings you have just selected.
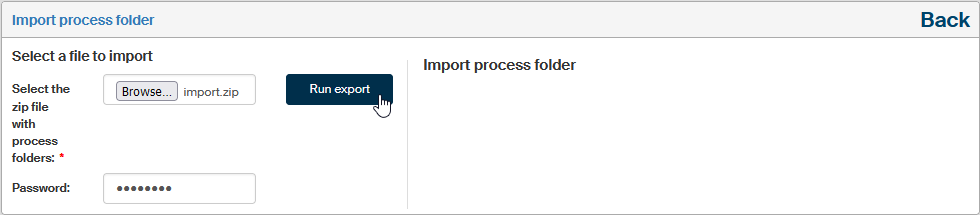
Importing settings
Start importing the settings by selecting one of the data categories in the field Select data to import. Click Select to confirm your choice.
A dialog is then displayed to enter the import source. Select the file with the data to import and enter its password. Click Upload an xml file to load the imported data.