Document-based document creation – sequential process
| If you are not sure, take a look at the difference between process-based and document-based documentation creation, or between sequential and parallel approval processes. |
Let us look in more detail at the workflow for a document-based document creation with sequential revision. In our example, the process author, John, will fill out the form and submit it to revision group named Documentation – revision and composed of our three experienced users – Frank First, Mary Middle and Luke Last. At the end of the workflow, the revised form will return to the author, John. He will finish the process and archive the form.
| at the start of the process, users in the revision group will be granted reading and editing permissions in the same scope as the process author. At the start of other processes (Document approval, Document distribution, Signature book), only the read permission is granted. |
Inserting the documents for revision
There are three ways of selecting a document for revision and inserting it in a form:
-
If you have a form open, you can directly insert a document that is already placed in one of FormFlow document folders.
-
If you have a form open, you can upload a document in it from a file on your computer drive, and then save it in a document folder. The rest of the procedure is the same as when selecting from a document folder directly.
-
You can also start a process directly from a document entry in one of the FormFlow document folders (without having to open the form first). Open a document folder, select the document and request running a process on it. This action will open the corresponding form and the document will already be inserted in it.
The author opening and filling out the form
Let us follow the procedure step by step, starting from opening the form. The process author clicks the PROCESSES tab and then the Folders button on the toolbar. On the left, in section Folders, the author sets or checks the folder that will be used for the process. Then the author clicks Create process and selects VDD – Document creation – document-based from the list of processes.
This action opens the window Document creation – document-based with the corresponding form. The author then starts to fill out the form.

Filling out the first sections of the form
Filling out the top part of the form – up until the document selection – is similar to filling out other forms of this type (see chapters Form history and printing and following up to Setting up the revision group).
Remember that you can click Save in the low left part of the form any time to save the form in progress. You can always find your saved form in your process folder.
Inserting the documents for revision
You can first note the difference from the process-based method when inserting the document for revision. There are two buttons available in section Document revision:
-
Insert from DMS (= document folder in the form) – inserts a document for revision from one of the FormFlow document folders, where it has been already placed.
-
Insert from drive – the document is first uploaded from a file placed on a local computer drive. The author then inserts the document in a document folder they choose, and the document will be available in the form the same way as in the previous case.

You can also insert a second document or more.
Inserting a document from DMS
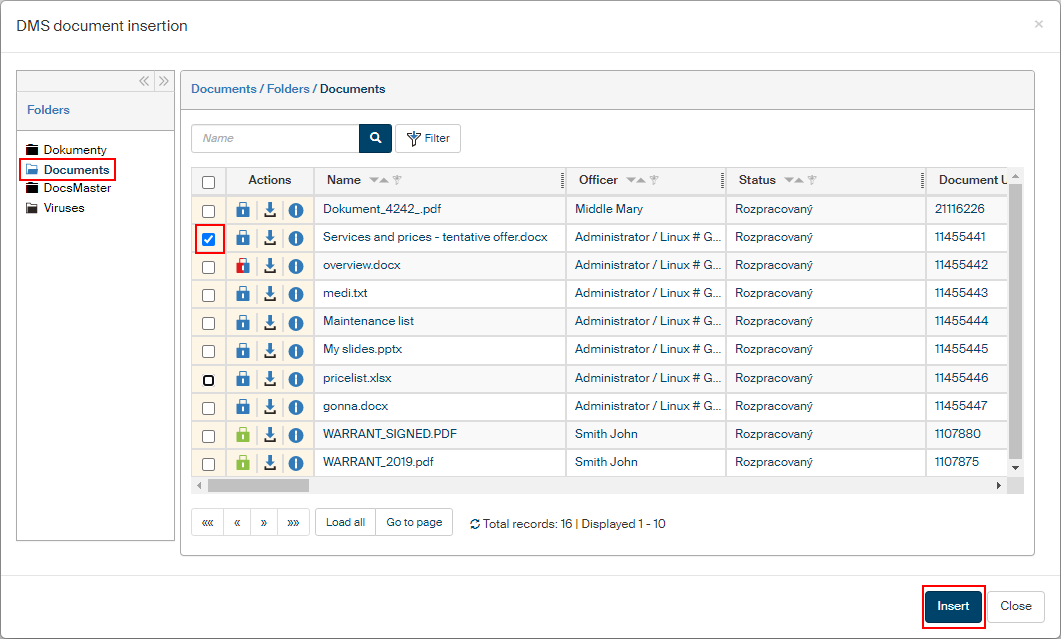
To load a document from a FormFlow document folder, click Insert from DMS. A modal window Document list is then displayed.
-
The left side displays the document folder structure. Select the required folder and click it. You can narrow down or minimize this part of the screen using the double arrow icons in its upper right corner.
-
On the right, look up the file(s) you want to insert in the form and check the boxes in the left-most column to select them.
-
Click Insert to place the selected files in the form.
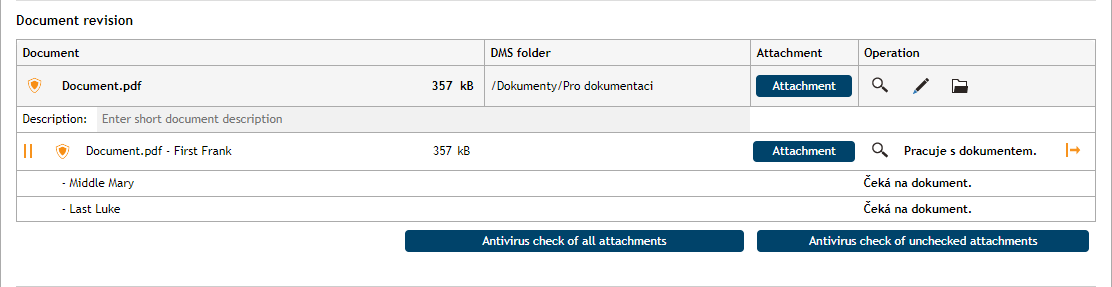
Now you can see the entry for the inserted document in the form, in section Document revision. Note the DMS folder column, which lists the FormFlow document folder where the document was located.

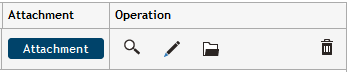
There are controls available in columns Attachment and Actions, which you can use for various previews and other document operations. But first of all, you should select Antivirus check of all attachments (or Antivirus check of unchecked attachments) to check the documents for viruses.
-
The blue Attachment button enables you to load the document from the document folder and save (download) it as a file on your computer drive. If you have not run antivirus check yet, a query is displayed first asking whether you want to download the document without it.
-
The button
 Display attachment preview in another window opens a window with a preview of the document contents.
The preview is only for your reference, it cannot be edited in any way, but you can e.g. print the attachment, save it or send as an e-mail attachment.
Display attachment preview in another window opens a window with a preview of the document contents.
The preview is only for your reference, it cannot be edited in any way, but you can e.g. print the attachment, save it or send as an e-mail attachment. -
The button
 Display metadata displays a window with document metadata.
Metadata is editable, and you can then save it after editing.
Display metadata displays a window with document metadata.
Metadata is editable, and you can then save it after editing. -
The button
 Display in DMS opens a window listing the contents of the folder where the document comes from, filtered to display only this document’s entry.
 -
The button
 Remove attachment displays a confirmation query first and then removes the document from the form.
The entry is only removed from the form, for example if it was inserted by mistake – the document itself stays in FormFlow.
Remove attachment displays a confirmation query first and then removes the document from the form.
The entry is only removed from the form, for example if it was inserted by mistake – the document itself stays in FormFlow.
Inserting a document from a local drive
Click Insert from drive to open the standard file selection dialog and select the drive, folder and file where the document is located. The next step is to insert the uploaded document in a FormFlow document folder. Remember that the process we are describing now does not run on documents inserted directly in the form, but on documents stored in FormFlow document folders.
Click the option in column DMS folder and select a document folder from the list.

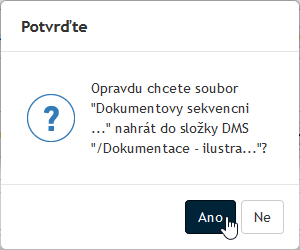
Then confirm the query in the Confirm window.
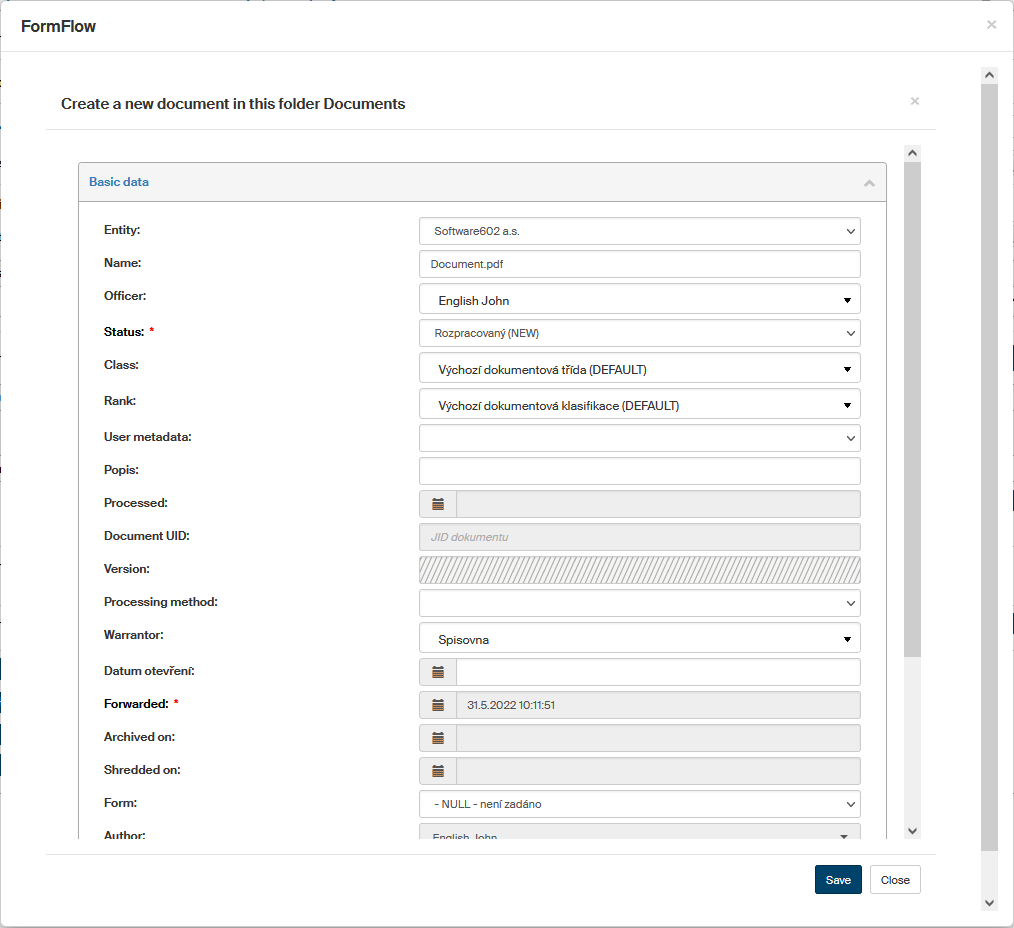
Before the document is inserted, you will need to review and enter the document metadata. The important entries include Class, Rank and Entity; also make sure to select whether to preserve the document in LTA. When the metadata is complete, click Save.
The document entry in section Document revision now displays the controls for document handling and matches the document entry described in the previous chapter, when a document is inserted from the DMS.

Document description
To make it clearer why the document was inserted in the form, you can add a note in the field Description.

Inserting comments and attachments
You can add more files in section Other documents; these documents will not be reviewed but may carry relevant information for the main document(s) revision.
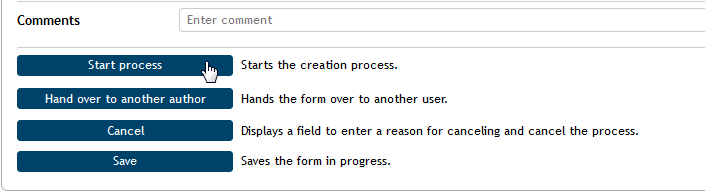
Any number of comments for the process can be entered in section Comments – by the process author as well as the revision group members.
Submitting a form to workflow
When the form is filled out, the author can submit it to the workflow among the revision group members. The author clicks Start process to submit the form.
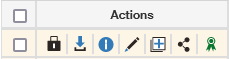
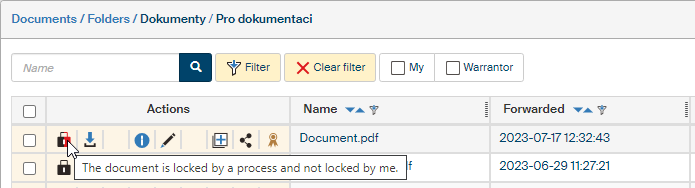
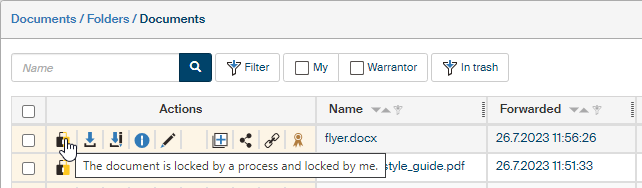
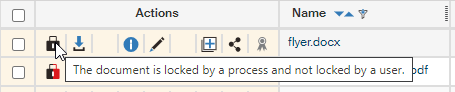
If the author views the document entry in their document folder at this point, the Actions column displays a black lock symbol – The document is locked by a process and not locked by a user. This means that the document cannot be unlocked for editing until the process is finished.
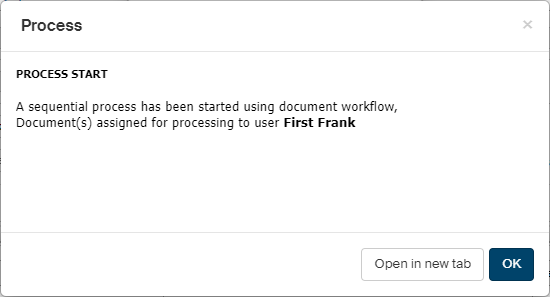
After a confirmation query the form is forwarded to the first reviewer – in our example, it is Frank First.
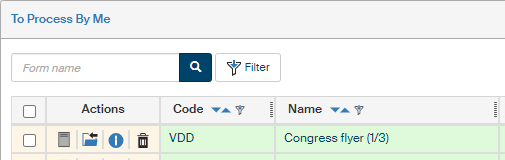
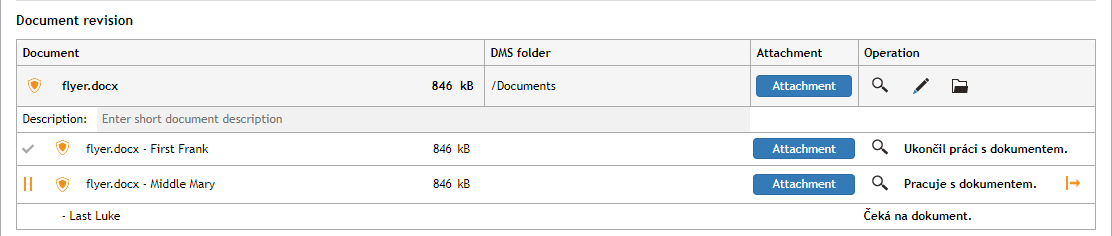
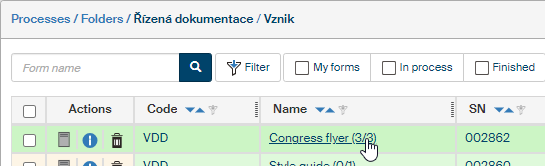
The process author can see in the listing of their process folder that the document entry contains the indicator (0/3) – this means that there are three users set as the revision group, but none of them have processed the form yet.
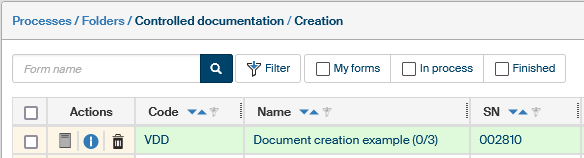
When the process starts, a copy of the document or documents inserted in the process is created. The first revision group member receives this copy for revision. Note that the process itself stays with the process author. He or she can see the progress in the process form, in section Document revision.
The Actions column in the document entry in the author’s document folder displays a black and red lock (The document is locked by a process and not locked by me).
Excluding a user from the process
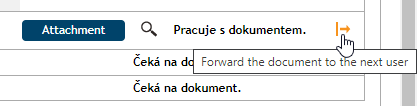
The process author can exclude selected revision group members from the process while it is running. This is what the yellow symbol (Forward the document to the next user) is for, located on the right from a revision group member in section Document revision. Click the symbol to exclude the revision group member from the process and the document is passed on to the next revision group member (as set in the table in the form).
The form is at the first reviewer
The user who received a copy of the document for revision from the author is now the document processor.
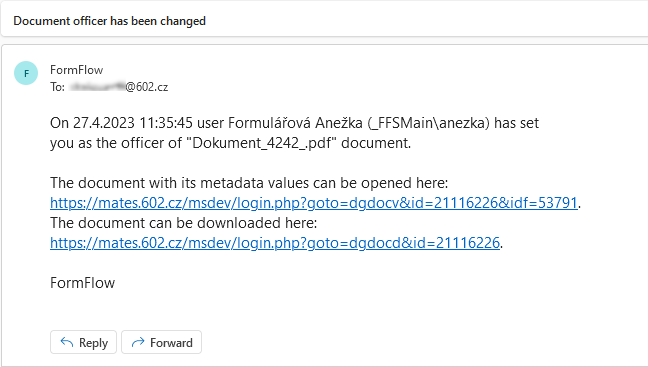
Frank First has received a notification of the form by e-mail (Document officer has been changed). To receive it, he needs to have notifications set up and enabled.
-
Click the link "Display the document here" to view the document in a preview window.
-
Or click "Open the document with metadata here" to enter (after logging in to FormFlow) directly the folder where the reviewed document is stored.
| You can also find the document on the DASHBOARD in table Documents – my tasks, or on the PROCESSES tab in folder Documents – My tasks, or directly in the document folder where the document is stored. |
When a DMS document is assigned to someone for processing by the process, the document is locked by the process, but the lock is set for the current reviewer. The user’s folder lists the document with a black and yellow lock in the Actions column (The document is locked by a process and locked by me).
There are two ways the user can edit the document.
Editing a document from the folder where it is stored
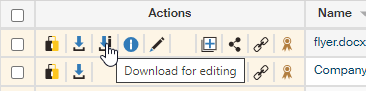
In the FormFlow window with the contents of the folder where the document for revision is stored, go to the Actions column and click Download for editing.
The document is then downloaded and saved as a file on your computer drive. A folder for file download is usually offered as the default. If a query is displayed asking whether you want to open or save the file, select Save.
Open the document from the folder where you saved it (outside FormFlow – you can use e.g. a file manager), edit it as you need and save to your drive again.
Back in FormFlow, at the document entry, go to the Actions column and click the button Edit document metadata.

The screen Edit document will be displayed. Check or edit the document metadata, if you need; pay especial attention to the Class, Rank and Entity entries.
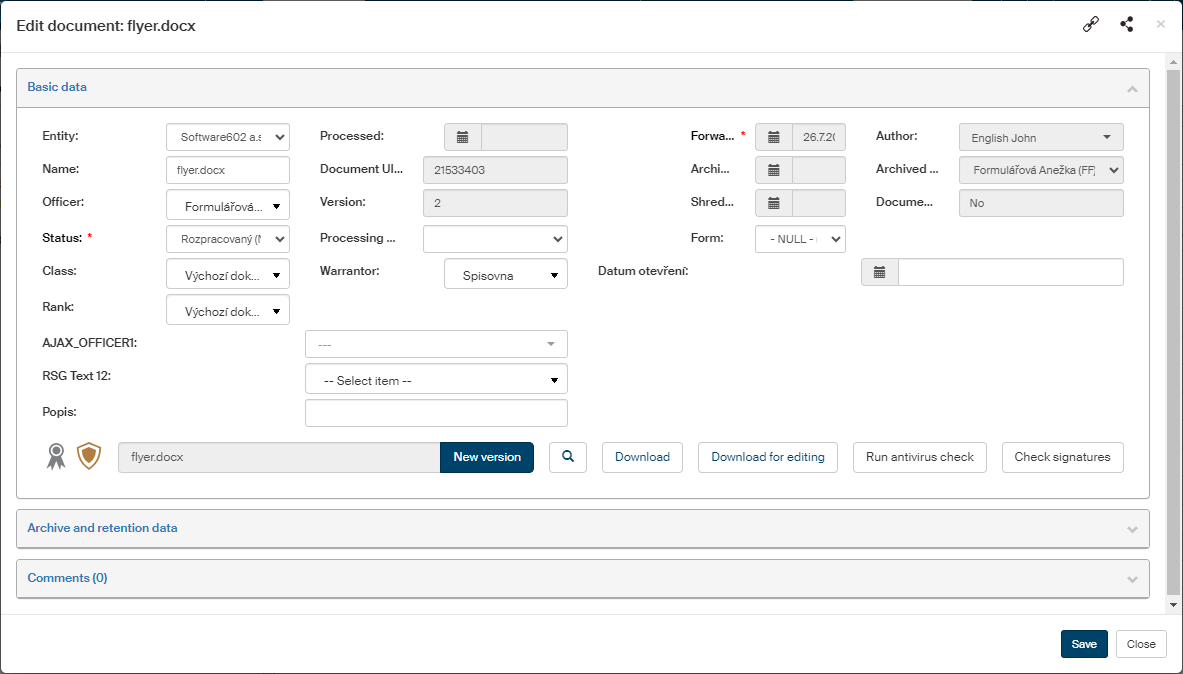
Click the button New version. Use the standard file selection dialog to look up the document you have just edited and saved. Click Save to save the metadata. At the same time the new version of the document is uploaded to the folder; the lock is still the same, black and yellow.
The reviewer now clicks the lock icon to change the document lock to the next revision group member (in our example, it will be Mary Middle). She will now receive an e-mail notification that she has been forwarded a document for revision.

The lock symbol will change its color to black and red (The document is locked by a process and not locked by me).

The process author (Agnes) can now see in her process folder that the indicator next to the process name has changed to (1/3).
| If there is more than one document in the process, the indicator will only change when all of them are revised. |
If the author opens the form now, she can see that the first revision group member has completed his revision and the document is now at the second member, Mary Middle.
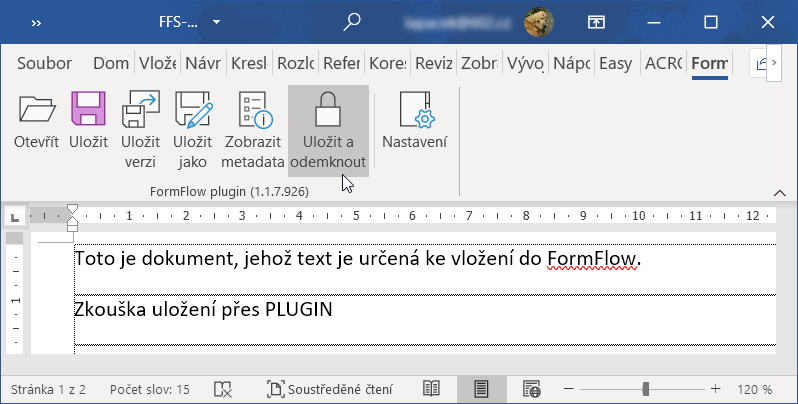
Using the FormFlow plugin
This method is an alternative to the method used in the previous chapter. In the document folder with the document for revision, click the download button next to the document. Let us suppose that the document is created in Word and you have already installed and set up the plugin for access to FormFlow DMS folders. Edit the document in Word, open the FormFlow tab and click Save and unlock; this will both upload the document and lock it for the next user in workflow.
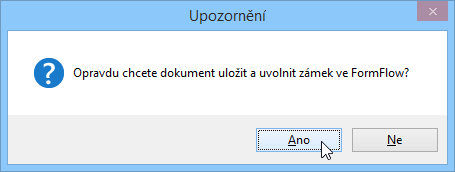
After you click Save and unlock, click Yes to confirm the query in the Warning window.
When you return to FormFlow, click the black and yellow lock symbol. The form is unlocked now for the next user in the workflow and the user will receive the document for revision.
The form is at the second and later revision group members
The second revision group member and any other reviewers proceed the same way as was described above. To edit the document, they click the lock icon and change the document lock to the next revision group member.
The last revision group member will change the document lock to the process author.
The form workflow ends at the author
The process author receives a notification on the change of document officer and edits the document for the final time. Like the revision group members, the author opens the document, edits it and saves the document. Then the author uploads the document in the form and clicks the black and yellow lock button. The lock icon changes its color to black (The document is locked by a process and not locked by a user).
The process author can now open their process folder and look up the form.
The author opens the form and look at section Document revision to check the revision group activities and preview their revisions or open and save their versions of the revised document revision.
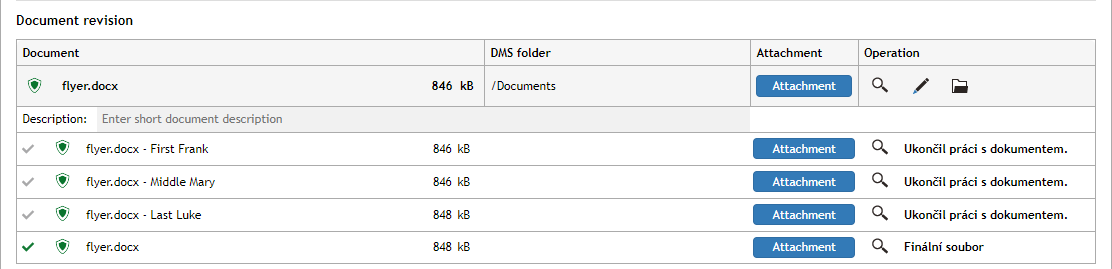
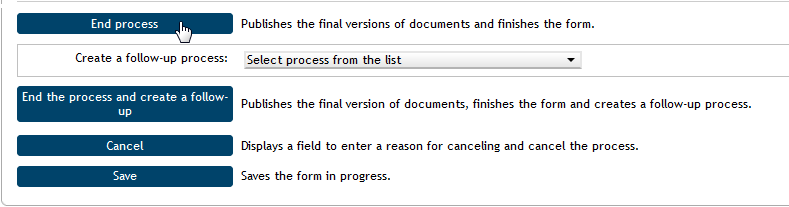
The author then finishes the process. There is again the End process button available; clicking it will finish the process, publish the final version of the document and archive the form.
Another option is to use the button Final version and create a process, which will also finish the whole process, but also run the selected follow-up process.
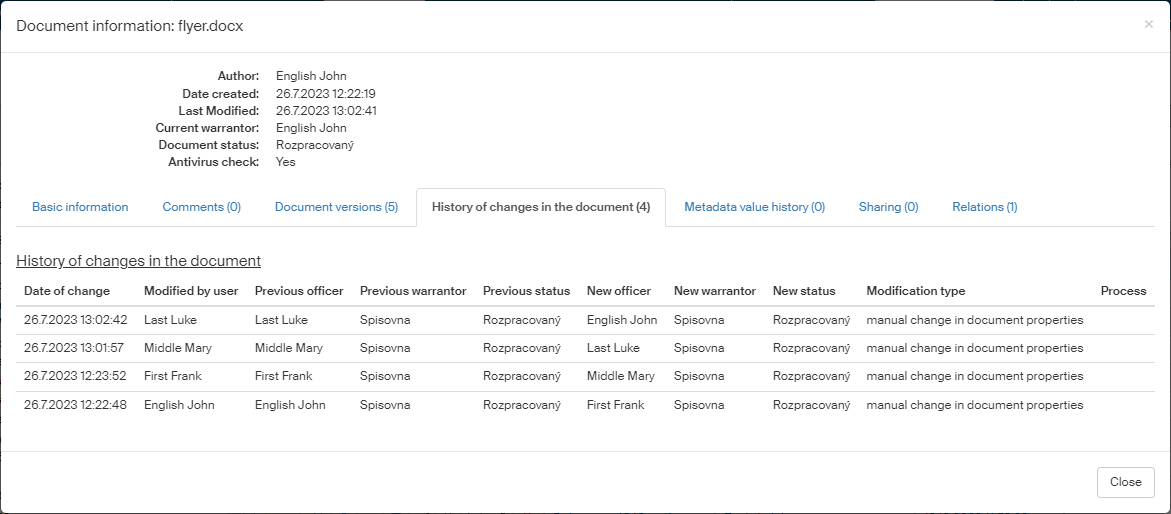
The process author might also be interested in details on the tabs in window Document information (click  Document information).
The tab History of changes in the document lists the individual versions of the document with their edits and changes.
There are three more tabs in the window:
-
Basic information – the tab lists the basic details of the document (from metadata: name, class, rank, entity…), also archival and retention details, testing metadata if any and the number of attached comments.
-
Comments – if there are comments attached to the document, their contents are listed on this tab.
-
Document versions – details on each existing version of the document, including the author’s name, name of the user who modified the document, date of last change, and links to a preview and download of the document.