Document list
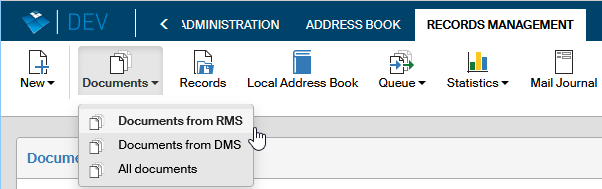
The Documents section provides access to all documents registered in the Electronic records management and the whole FormFlow. Open it by clicking the button of the same name on the Records management tab.
After you click the button, select the document type:
-
Documents from RMS – displays documents registered in the Electronic records management;
-
Documents from DMS – displays documents stored in the document section of FormFlow (on DOCUMENTS tab);
-
All documents – displays documents from both the groups.
When you have selected the document type, a list is displayed as a table with each entry in a separate row (for more details, see the next chapter, Document list).. There are controls for filtering the data available above the table (for more details, see chapter Filtering).
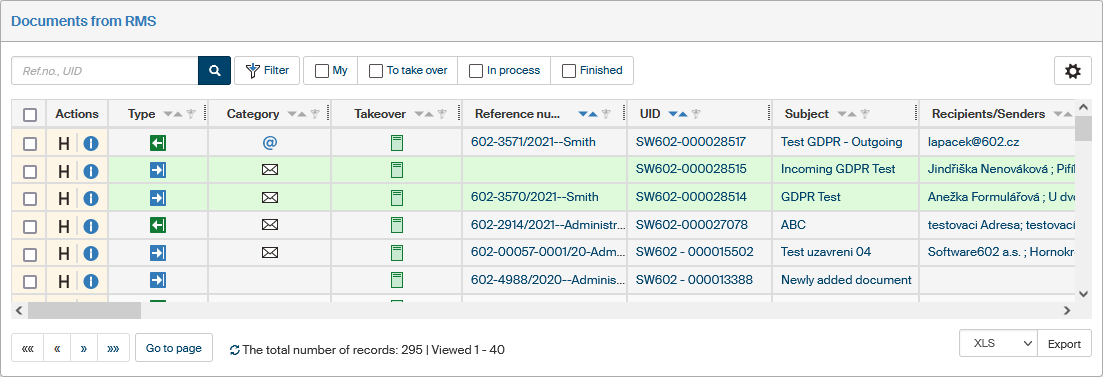
Document list
The document table displays documents (incoming and outgoing) stored in the Electronic records management.
Every row corresponds to a document and the columns to individual details kept for the documents.
Below the list you can find controls for browsing the list if there are more entries found than is the set page size. The total number of entries is located next to the controls. You can click ![]() to update the total.
to update the total.

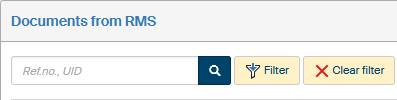
If there are preset filter sets to be displayed as labels, you can find them above the list next to Filter button. Filter set settings are described in chapter Filter sets.
If there are not too many entries (the threshold is again set by the FormFlow administrator), you can order or filter them based on one of the table columns. You will find the corresponding controls in the header of each column. Set the order by clicking ![]() Descending or
Descending or ![]() Ascending. If there are too many entries, narrow the selection down using a filter.
Ascending. If there are too many entries, narrow the selection down using a filter.

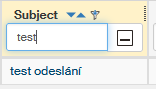
A so-called column filter is available for quick filtration.
Click the ![]() button in the column header and use the field displayed to enter a part of the text contained in the column.
The system immediately displays only those documents that match the filter.
button in the column header and use the field displayed to enter a part of the text contained in the column.
The system immediately displays only those documents that match the filter.
| For a more precise search, use the filter tools described in chapter Filtering. |
The table itself contains checkboxes for bulk operations (they are described in more detail in the following chapter Bulk operations on documents), the Actions column with several buttons and, in the rest of the columns, details of the individual entries.
Buttons in the Actions column provide the following features:
-
 display the document history, meaning information who and when created the form, filled it out, read, inserted in a record, etc.
 -
 display the list of all document metadata.
 -
 the record is on another user’s desk, but you can click to take it over.
Displaying other details (metadata) is optional; you can set their visibility and order in the document filter (described in chapter Columns). Your selection of document type to display (from RMS, from DMS or all) also impacts which details are displayed.
Common details:
-
Delivered – the time the document was delivered to the address (do not confuse with “Received”). If there is more than one recipient in the form, only the value for the last sent message is displayed.
-
Type or Direction – indication of incoming or outgoing documents;
-
Subject, Reference number, UID, File number, File plan code – document identification and registration details;
-
Modified – date and time of the last change in the document.
There are additional details you can display for RMS documents:
-
Type – message type (traditional mail, e-mail or data mailbox).
-
Takeover – takeover status: document marked in red is not taken over, one marked in green is taken over.
-
Recipients/Senders – counterparty details, meaning the recipient (or recipients) for outgoing documents and the sender (senders) for incoming documents.
-
Some more times related to processing the document:
-
Recorded – date and time the document was entered in the records management system.
-
Processed – date and time the document was processed.
-
Finished – date and time the document was finished.
-
Sent – date and time the document (message) was sent to the recipient.
-
Received – date and time the recipient received the document (message);
-
-
Users taking part in the document life cycle:
-
Processor – user responsible for processing the document.
-
Finished by – user who marked the document as Finished.
-
Sent by – for outgoing documents - user who sent the document (message) to the recipient.
-
-
Entity, organizational unit – organizational placement of the document;
-
Sender’s and recipient’s reference number – reference numbers assigned to the document by the sender and recipient.
-
Data message ID – identification of the data message itself.
-
Took over the document and Physically taken over – the day the document was received and the user who physically received the document.
-
Shredding year – the year to run shredding.
-
Description– document description.
-
Lent to, Lent from, Lent until, When the lent document/record was returned – details of document/record lending.
-
EXT – attachment extraction.
-
Status, Processing method, Processing time, Processing deadline, Posting number, Post office of posting, Labels, Category – other details on processing and mailing the document (described in chapters Document processing for incoming documents and Document processing for outgoing documents). Click a field with the document identification details to open the corresponding form and view or edit it.
Bulk operations on documents
The Bulk operations window
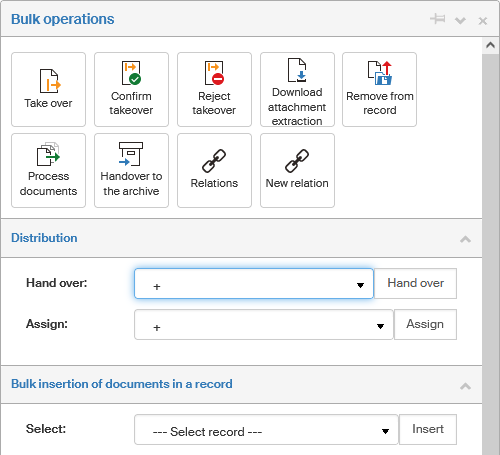
Check the box in the leftmost column for one or more table entries to display a floating window with a list of operations you can run for all the selected documents at the same time.
-
Take over – if you have selected only documents not on your desk but that you can take over, click this button to take over them all.
-
Confirm takeover – if the selected documents have been handed over to you, click this button to confirm taking over all of them.
-
Reject takeover – if the selected documents have been handed over to you, you can click this button to reject taking over all of them.
-
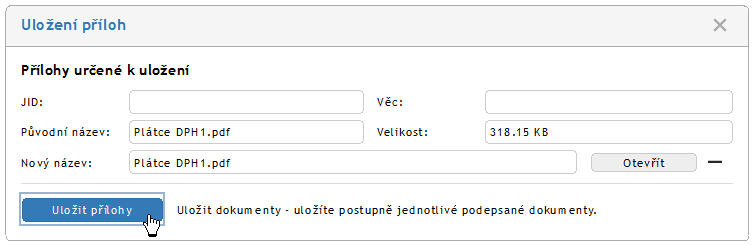
Download the attachment extraction form – allows bulk downloading attachments from several forms at once. Click the button to open a form where you can handle all the selected attachments.
The Save attachments form (see the following image) displays a list of all attachments from the selected documents. Click Open to display a selected file directly in an associated application based on the file type. You can click the – button to remove an attachment you do not want to download. Use the field New name to edit the filename of an attachment if needed (e.g. if there are more attachments with the same name, too long name, etc.). Click Save attachments below the list to save all attachments under the selected names in a selected folder on your computer drive.
-
Remove from record – if the selected documents are inserted in a record (records), click this button to remove them all.
-
Process documents – runs final processing of the selected documents. Changes the status for all selected records to Finished.
-
Handover to the archive – if the document is finished, it will be stored in the Archive.
-
Relations – displays a list of relations along with information who created the relation and when.
-
New relation – marks the selected document as primary and allows creating a new relation.
-
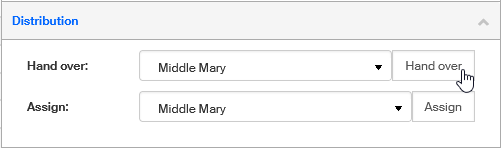
The Distribution section provides the option to change the officer – the person responsible for the document. Select the officer from the list and click Hand over or Assign to pass them all selected documents. If you have selected Hand over, the usual handover procedure follows, meaning that the selected user must confirm taking over the document, and they have the option to reject it. If you have selected Assign, the officer change is applied immediately.
Bulk insertion of documents in a record – select the documents to place in a record, and then go to the bulk insertion section in the right-hand panel to select the record. Enter the whole name or the first three characters and then select the record from the list. Click Insert to confirm your selection and the documents will be inserted in the record.
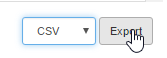
Exporting a document list
A list of documents based on the current filter can be exported to file and then processed in other software: the available formats include CSV, PDF, XML, XLS, XLSX and HTML. The export controls are not in the Bulk operations window but below the table of documents. Select the target format in the first field, then click Export to confirm the operation. The system will offer you the resulting file for download.