Signing a document in a form
This chapter describes signing documents placed in Electronic records management forms – Incoming document and Outgoing document as well as the Signature book.
Stand-alone documents stored in the document part of Formflow can be signed too, see chapter Signing a document for details.
Preparing the document for signing
Let us illustrate document signing in FormFlow on an example Outgoing document (MSG_OUT) form in Electronic records management. Open the form by going to .
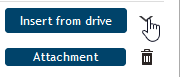
In Attachments section of the Outgoing document form, upload a document to attach, using one of the buttons Insert from drive, Insert from template or Insert from scanner.
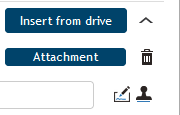
Click the arrow button (![]() ) on the right from Insert from drive.
) on the right from Insert from drive.
Buttons for PDF document signing (and also for attaching a time stamp) are now displayed in the section.
-
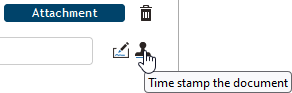
If you are signing using Signer, there are two buttons available – a separate one for a signature and another one for attaching a time stamp.
-
If you are using the Remote signing service, only a single button is displayed – for both the signature and/or a time stamp.
Some general rules:
-
The document for signing must be in PDF format (or in one of the newer Microsoft Office formats – DOCX, XLSX or PPTX). Documents in other formats must be converted to PDF using the button Convert to PDF.
-
It is not possible to use a password-protected PDF document.
-
Before any manipulation – including signature – an antivirus check must be run on the document (click Antivirus check of unchecked attachments or Antivirus check of all attachments).

Signing using the remote server service
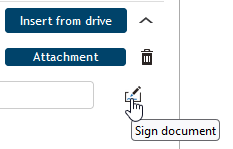
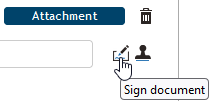
When the PDF document has been checked, click Sign document.
If the button is not available, the document type is unsupported; try clicking Convert to PDF to create a PDF file from your document.
The certificate selection window then opens, allowing you to attach a signature and/or a time stamp.
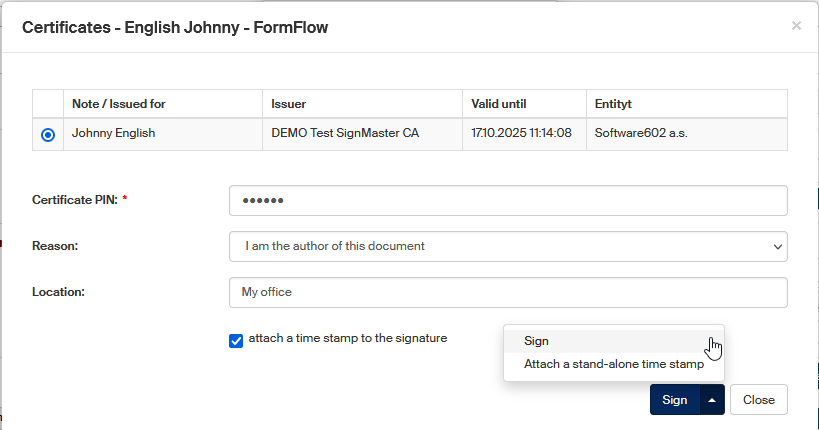
The upper part of the window displays a list of certificates you have available. If there is more than one, click the first column field to select the certificate to use. If the value of one of the parameters is bigger than the column value, it will be shortened. Point the mouse cursor at the value and the tooltip will display the whole value or the corresponding help text.
| If both entries in the Note/Issued for column are available, they are separated by a slash. If there is no note text available, only the “Issued for” value is displayed without the slash. |
-
To attach a signature, you need to enter the correct PIN for the certificate in the field Certificate PIN. The PIN is not required if you are attaching a standalone time stamp.
-
In the field Reason, you can select an option that describes your reason for signing the document (optional). A reason is only attached to a signature or a signature with a time stamp.
-
In the field Location, you can enter the place where you are signing the document (in the office, at home, on travels…). This information is optional; if you enter it, it will be only attached to a signature or to a signature with a time stamp.
Select whether to attach a digital signature, a time stamp or both:
-
If you are only signing the document, you only need to click Sign now.
-
To only attach a time stamp, click the right end of the Sign button to open a menu and select Attach a standalone time stamp.
-
To sign the document and attach a time stamp at the same time, check Attach a time stamp to the signature and only then click Sign.
The document will be signed and/or time stamped based on your choice. Now continue to chapter Signature validation result.
Signing with the Signer
When signing using the browser extension combined with the Signer application, the signing itself and attaching a time stamp are two separate actions.
Signing a document
Once a document has been checked, you can click Sign document to sign it.
The Signer window opens. The upper part displays a list of available certificates. Click one of the entries to select the certificate.
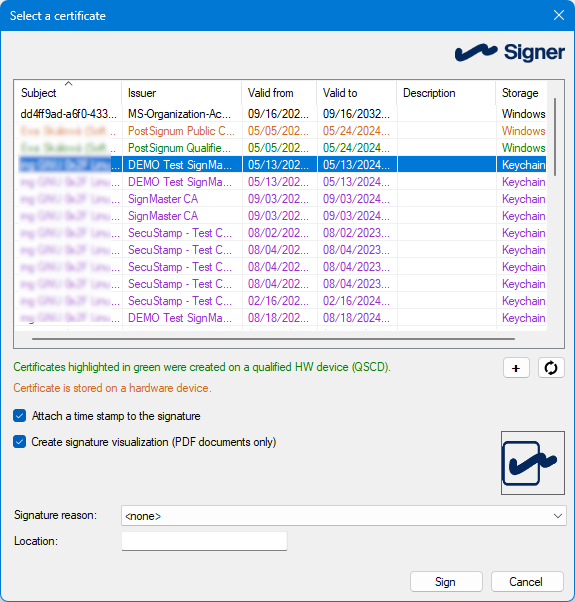
The fields in the lower part of the window are optional.
-
In the field Reason, you can select an option that describes your reason for signing the document.
-
In the field Location, you can enter the place where you are signing the document (e.g. in the office).
Click OK and you will be asked to enter your password to the qualified device where the certificate is stored.
If your password is correct, the document is signed with the selected signature.
Signature result in the form window
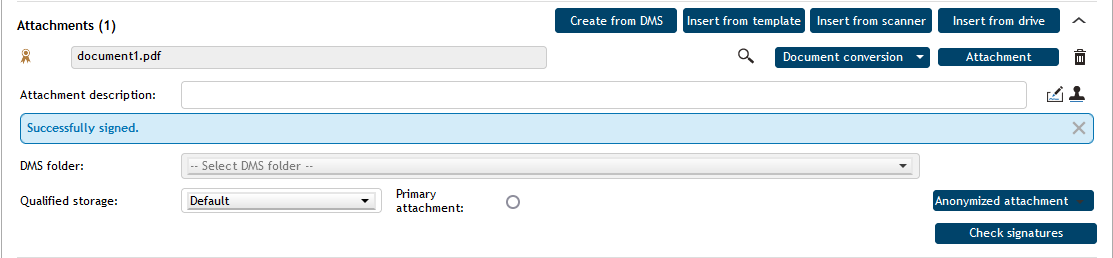
When a document is successfully signed and/or time stamped, a message in a blue frame – Successfully signed – is displayed in the form. You can click the cross on the right to remove the message from the form.
Signature validation result
To display general information on all document signatures, click Check signatures.
A new window opens with details of all signatures and time stamps attached to the document.
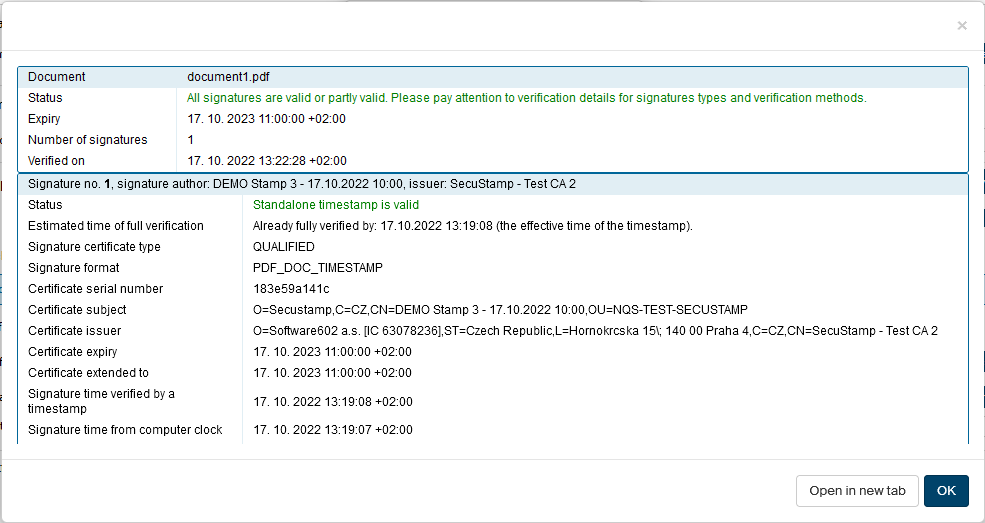
When you return to the form window, the Validation result displays overall information, for example: "All signatures are valid or partly valid. Please pay attention to verification details for signatures types and verification methods". In addition, the field Number of signatures displays the total number of signatures and time stamps attached to the document. You can always click Revalidate signatures to reopen the signature information window.
If the document has changed since the signature (attached example), a note in red will be displayed. A warning about PADES_BASIC is also displayed – "This signature format does not have to be recognized by public sector entities as it is not among the formats specified Commission Implementing Decision (EU) 2015/1506". To register the document for long-term storage, an exception must be granted even though the signature itself is cryptographically correct.


The last time the signatures were validated is displayed in field Last validation time. If you need to refresh the validation, click Revalidate signatures.

Repeat the whole signing procedure for all documents attached to the form.