Mail settings
On the left panel in the Entities screen (), make sure the entity you want to edit is selected in the Entities list. Then go to Menu and click Mail settings. The screen Mail settings (entity name) is displayed on the right. It lists the entity’s e-mail accounts (if there are any).
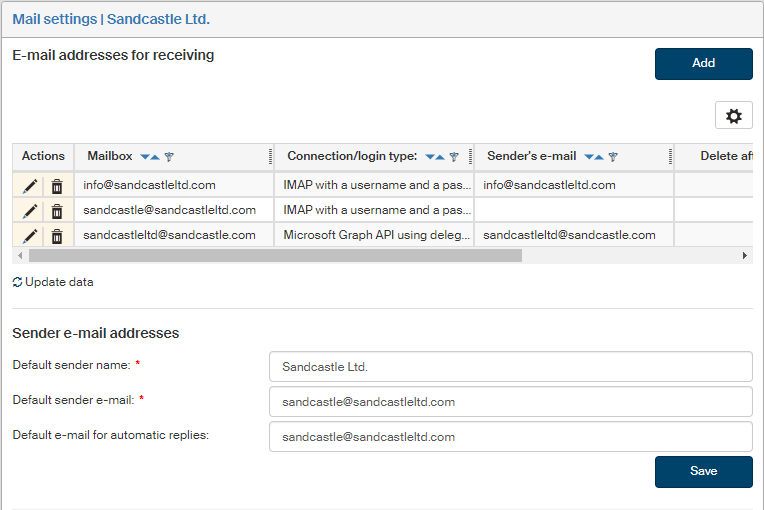
The Mail settings screen is divided into two sections: E-mail addresses for receiving and Sender e-mail addresses. They are both empty by default.
Addresses to download e-mail from
In section E-mail addresses for receiving, set up the details for e-mail accounts from which messages will be downloaded.
Creating a new mailbox connection
To add a new e-mail account on the list, click Add.
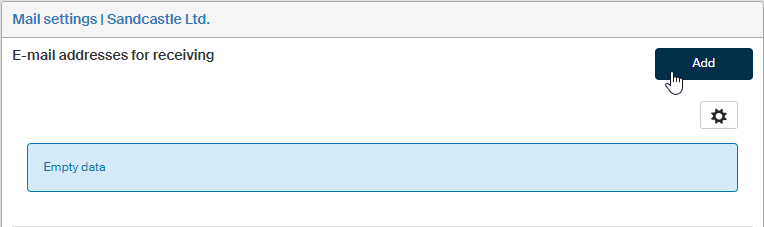
The window Add e-mail for receiving is displayed.
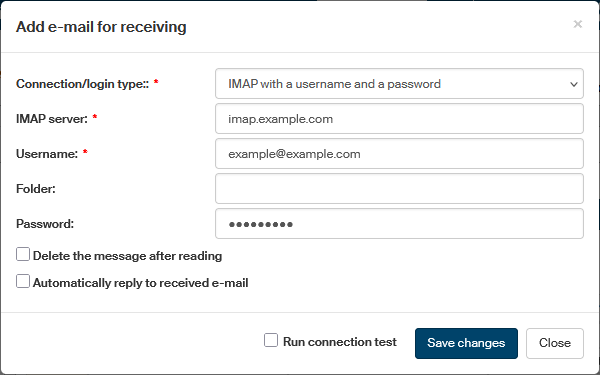
In Connection/login type, select one of the connection options.
IMAP connection
For an IMAP connection, enter the following details:
-
Enter the server address in IMAP server.
-
In Username, enter the name used to log in to the mailbox.
-
To download messages from one of the mailbox folders only, enter the folder name in the Folder field.
-
Optionally, enter the corresponding password in the Password field.
-
If you check Delete the message after reading, e-mail messages will be deleted from the mailbox after the download to FormFlow.
-
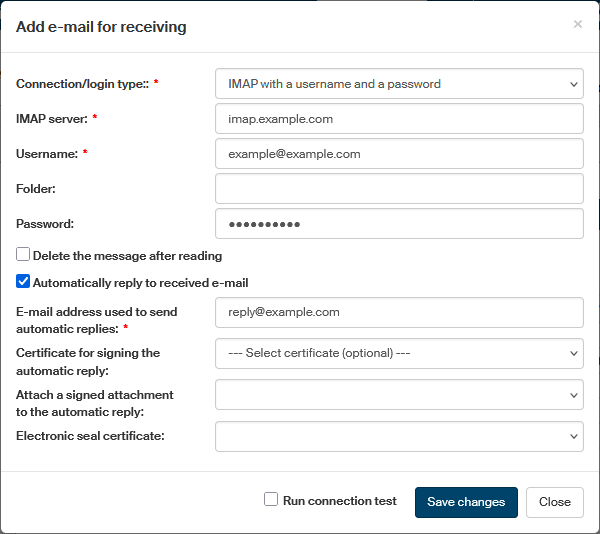
Check Automatically reply to received e-mail to send an automatic reply to each received e-mail. Set up the contents of the automatic reply in section Notifications – Automatic reply to incoming mail.
-
To enable this feature, enter the E-mail used to send automatic replies in the following field. It will be used as the sender e-mail address.
-
In Certificate for signing the automatic reply, you can optionally select one of the available certificates, which will be then used to sign the automatic reply.
-
If you switch Attach a signed attachment to the automatic reply to Yes, a file named AutoAnswer.pdf will be attached to the reply. The file will contain the same text as the reply e-mail message.
-
You can secure the reply message file with a seal (without a time stamp). Select the seal in Electronic seal certificate.
-
-
If you check Run connection test, a test connection to the data mailbox will be run when you click Save changes.
Click Save changes to confirm adding the mailbox.
Downloading e-mail from Google
To configure downloading Google e-mail, you need to have set up a business e-mail (GSUITE) account from Google.
Switch Connection/login type to Google GMail API using delegated access (OAuth 2.0).
Set up the connection as described in chapter Downloading e-mail from Google.
Downloading e-mail from Microsoft 365
To configure downloading Microsoft e-mail, you need to have set up an e-mail account at Microsoft.
Switch Connection/login type to Microsoft Graph API using delegated access (OAuth 2.0).
Set up the connection as described in chapter Downloading e-mail from Microsoft 365.
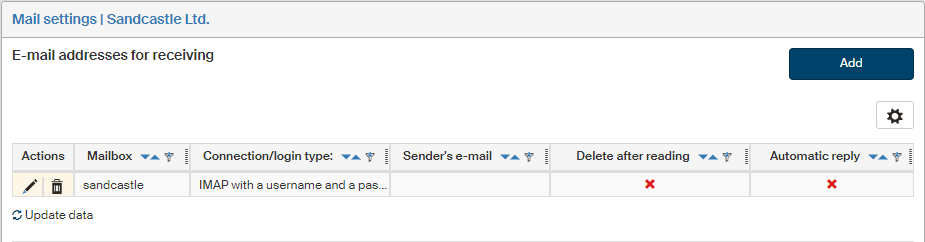
List of created connections
A list of created connections to monitored e-mail accounts is displayed in the upper part of the screen, in section E-mail addresses for receiving.
Use the buttons in the Actions column to manage the entries:
-
Click
 Edit mailbox to display a dialog where you can edit the mailbox connection – it is identical to the one used to create the connection.
 -
Click
 Delete mailbox to remove the mailbox connection entry.
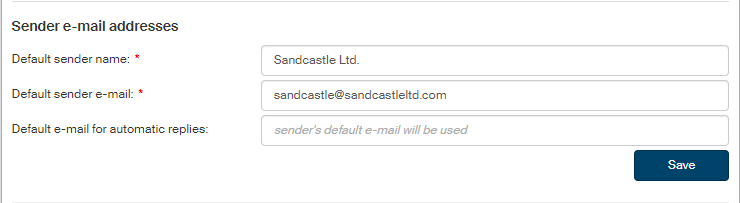
Sender e-mail addresses
You can use one default e-mail address and several additional ones to specify the sender. Section Sender e-mail addresses contains a list of these addresses.
Default sender address
To create a default sender address:
-
Enter the user or organization name* in the Default sender name field (e.g. James Newman, Company Ltd., etc.).
-
Enter the corresponding e-mail address in the Default sender e-mail field; this value will be preset as default for the entity in the Outgoing document form.
-
In Default e-mail for automatic replies, enter the sender e-mail address to be used when sending automatic messages. If not specified, the address from the previous field will be used.
Click Save to confirm the address.
Other sender addresses
To enter more sender addresses, go to section Add sender e-mail and click Add. A dialog is opened, titled Add sender e-mail.
Enter the sender name and the e-mail address in fields Sender name and Sender’s e-mail. Click Save changes to confirm.
A list of such additional sender addresses is located in the lower part of section Sender e-mail addresses. Use the buttons in the Actions column to manage the entries:
-
Click
Edit sender’s e-mail to display the address edit dialog. -
Click
Delete sender’s e-mail to delete the address entry.
This way you can add any number of addresses you like.
