Process-based documentation creation – parallel process
| If you are not sure, take a look at the difference between process-based and document-based documentation creation, or between sequential and parallel approval processes. |
Opening, filling out and submitting a form
The author, Agnes Form, displays the PROCESSES tab and clicks the Folders button on the toolbar. On the left, in section Folders, she sets the folder where she will continue her work. Then she clicks Create process and selects Document creation – process-based from the list of processes.
A window Documentation creation – process opens with the corresponding form. User Agnes then starts filling out the form. The method is identical to the one described in the previous chapters on the sequential process.
The main difference is the setting of Process type to parallel.
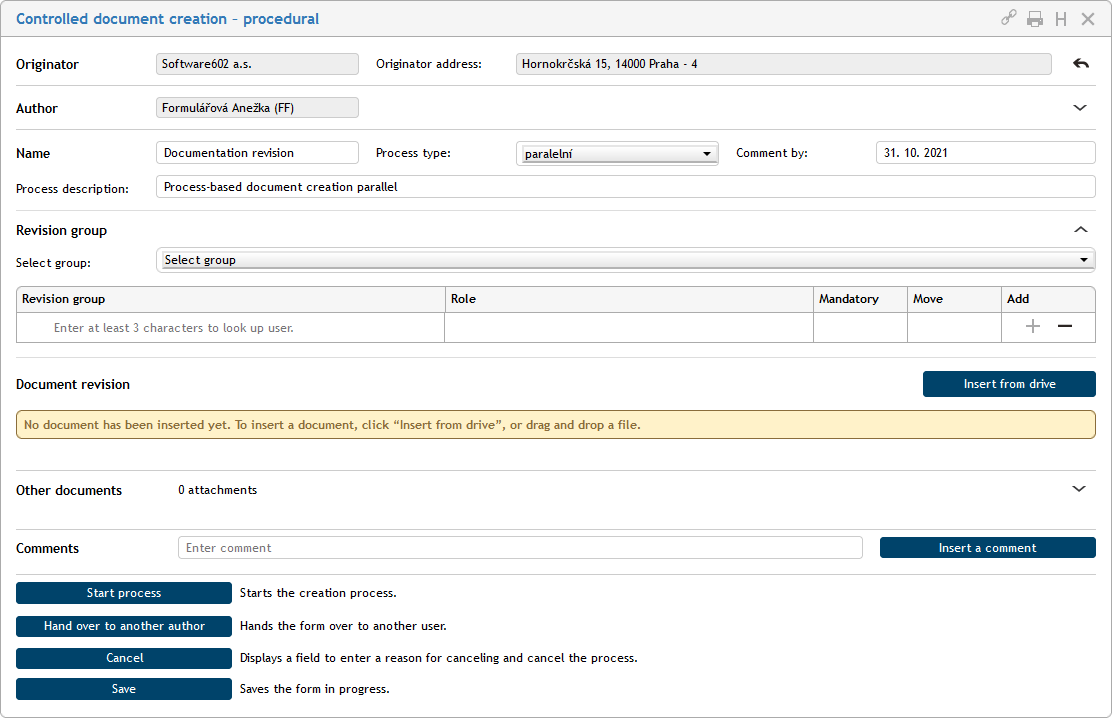
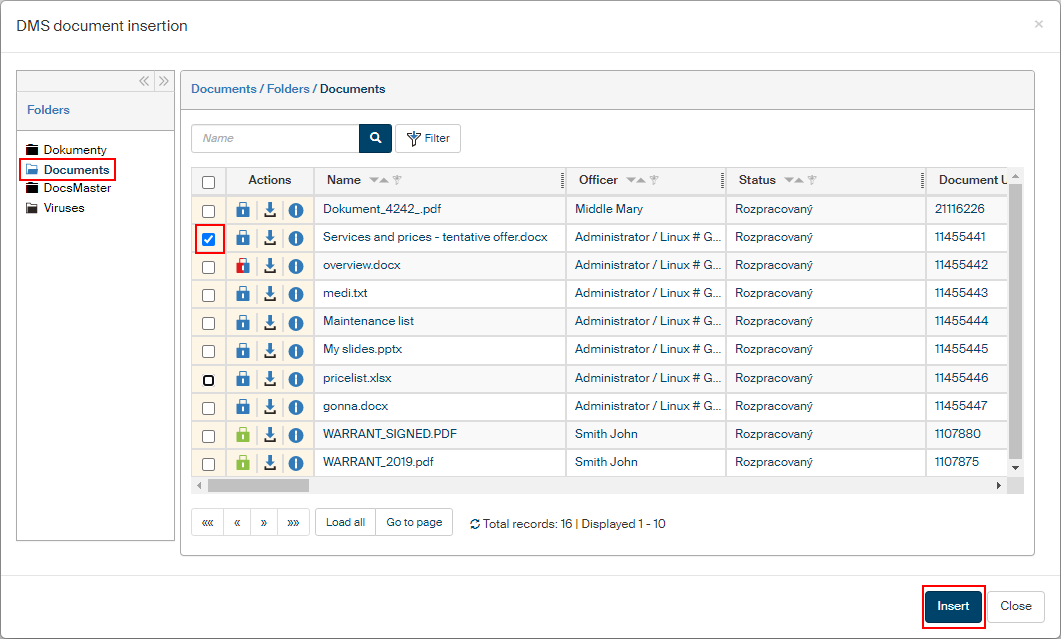
Setting up the revision group, attaching a file (or files) and, optionally, attaching comments and additional files are the same as for a sequential process. We recommend again to remember an antivirus check for all files. The document for revision will be loaded from a file.
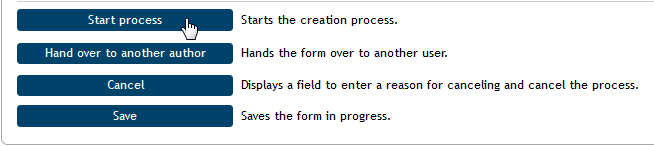
Clicking Start process will submit the form to the process to all revision group members at the same time.
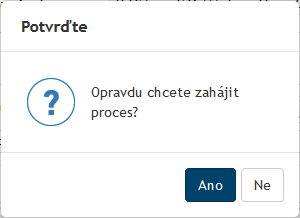
Confirm starting the process by clicking Yes in window Confirm.
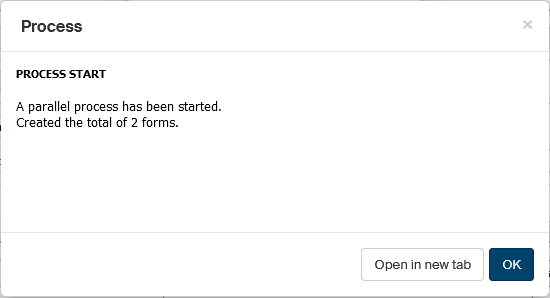
A window Process is then displayed to confirm that the process has started. It also lists the number of forms created for parallel processing.
The form at the reviewers
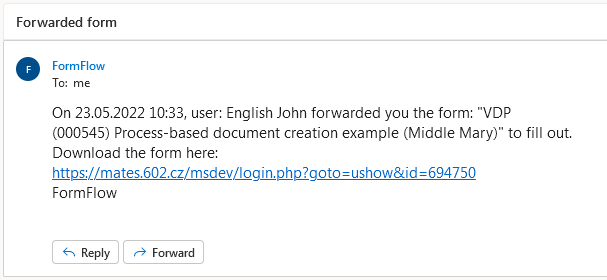
In a parallel process, calling the reviewers “first” and “second” has no meaning – there is no specific order of reviewers receiving and processing the document. All revision group members receive an e-mail notification that a form has been forwarded to them.
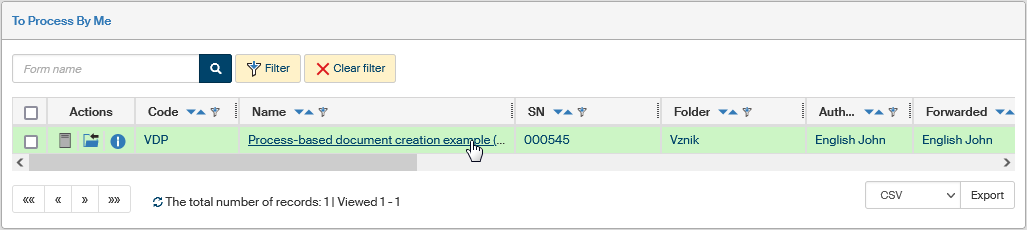
They can then reach the form from the folder To Be Processed by Me, which they can display from the DASHBOARD or on the PROCESSES tab in window In Process.
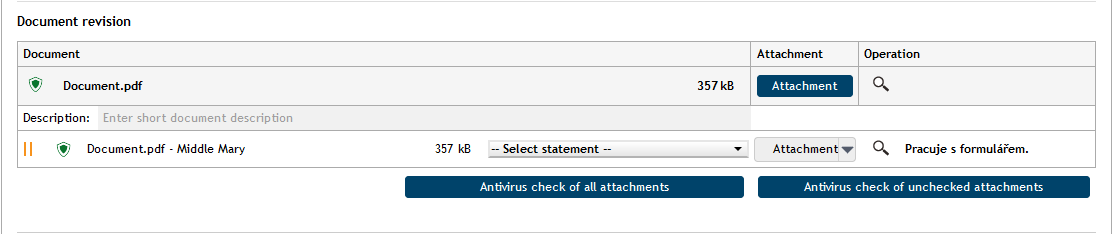
Clicking the form item will open the form. The Document revision section contains the document. The reviewer can click the blue Attachment button to load the document (in Word, in this case) and edit it. The reviewer then saves the edited document on their computer drive under a name they choose.
If an antivirus check has not completed for a document, the user will be notified about it with a query asking whether you are sure you want to handle an unchecked document.

Clicking the area of the gray Attachment button outside the arrow will open a dialog to upload the edited document in the form. As usual, we recommend an antivirus check at this point. Note that the reviewer statement in field Select statement is mandatory. The reviewer can then optionally add a comment in section Comments and attach an additional file in section Other documents.
When all is ready, the reviewer clicks Confirm document version to return the form with the reviewed document to the process author. Before it is submitted, the reviewer will need to select and confirm a signature certificate to sign the document.

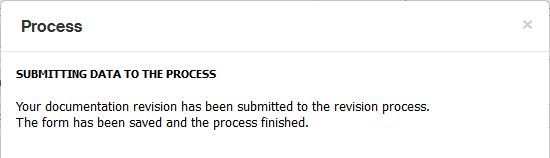
When the form is successfully submitted, a window named Process displays a confirmation.
The progress of the process as seen by the process initiator
The form author (process initiator) receives an e-mail notification when a revision group member fills out and submits the form with comments and the revised document.

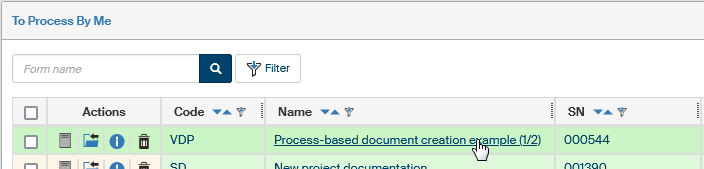
The form author can see the process entry in the process list and its indicator (1/2) shows that one of the two reviewers has already taken part in the process.
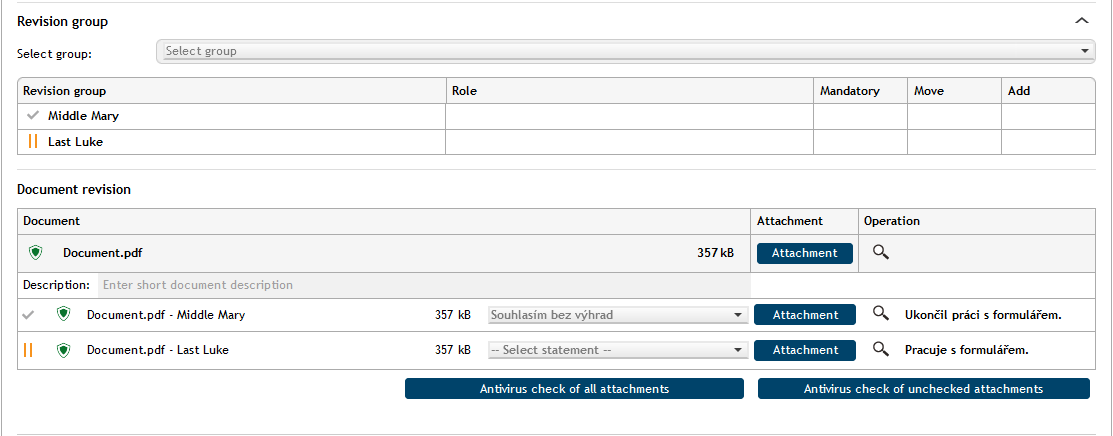
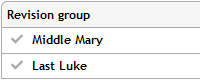
If the author opens the form, they can see which user – revision group member – has processed the form and who has not. In our case it is user Mary Middle who is indicated by a green checkmark and has already completed her task. The other revision group members are marked by double vertical yellow lines.
The form at other reviewers
The other reviewers proceed the same way as was described above. The form author receives an e-mail notification on each completed revision.
The author finishing the process
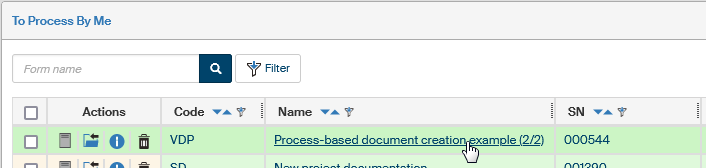
When the form is processed by all revision group members, the process initiator will see that the process indicator in the process list shows two equal numbers – in our example, it is (2/2).
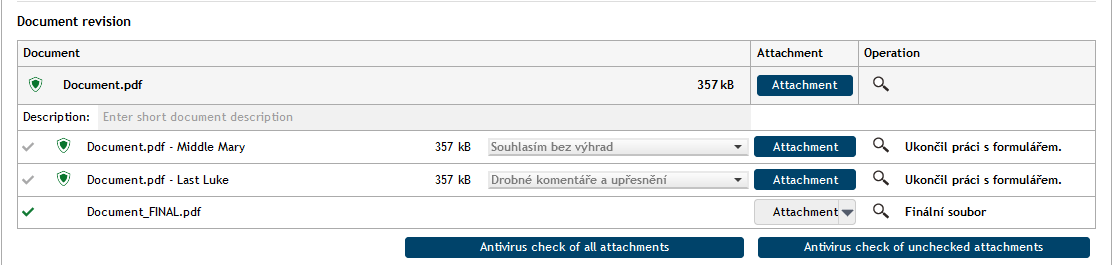
The process author (user John English) opens the form. He can see that all revision group members in the Revision group table have green checkmarks next to their names – they have completed their tasks.
He can also see – and access – all the revised versions of the document. He can click the magnifying glass button to preview the revisions and use the blue Attachment buttons to display them in the application where they were created.

If an antivirus check has not completed for a document, the user will be notified about it with a query asking whether you are sure you want to handle an unchecked document.
The author creates a final document based on the revisions – in our case, it is Document_FINAL.pdf – checks it for viruses and uploads it back to the form.
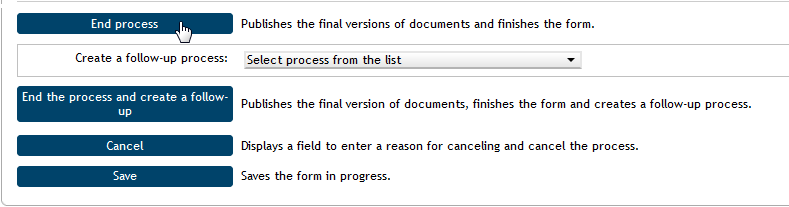
The author can attach another comment or additional files and then he clicks Finish process.
After a confirmation query in the Confirm window, she selects a signature certificate. The process then finishes, and the form window is closed.
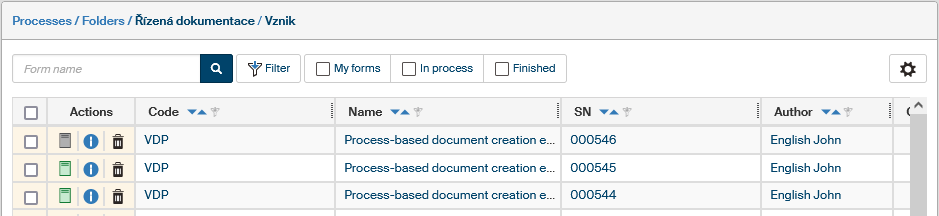
The author can see entries for all three stages of the form in their process folder. Listed are versions of the form as edited by the individual users as well as the final version prepared by the author (John English).
John can open his colleagues' forms – they are now read-only. If he displays the finished and archive form, he can reopen it or create a new, follow-up process based on this form.
