JIP/KAAS authentication
JIP/KAAS authentication settings consist of two parts: server settings and then individual user settings.
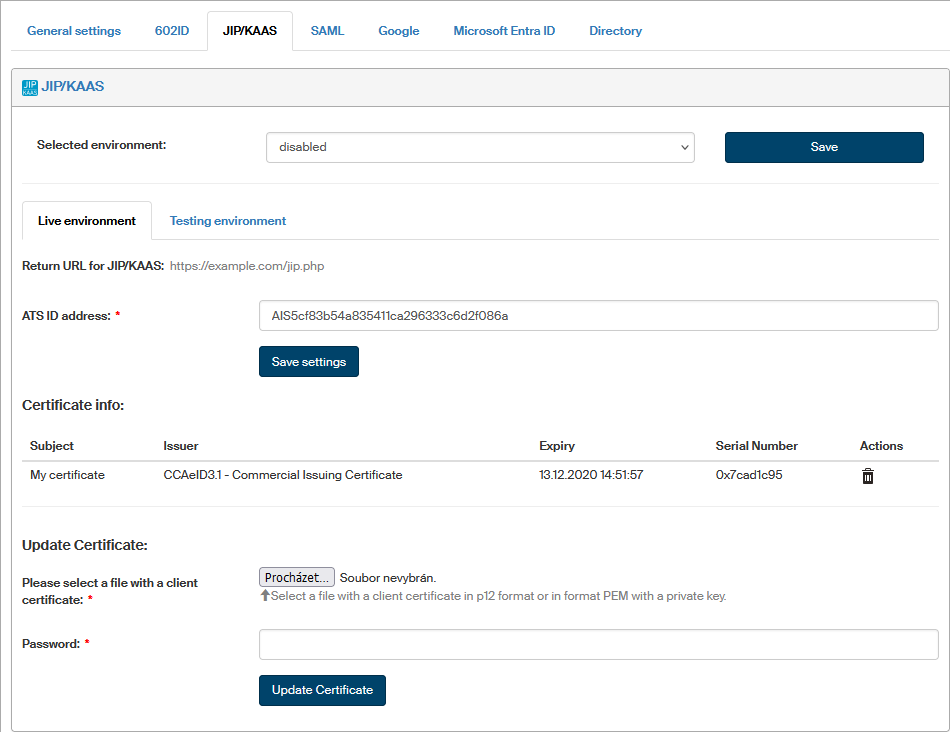
Server settings
-
Go to and switch to JIP/KAAS tab.
-
In Selected environment, choose which setting below will be used. The option disabled turns off the use of this authentication method.
-
Set up the properties for individual environments (production or testing) on their respective tabs:
-
ATS ID address – example of the whole URL address:
https://kaas.czechpoint.cz/as/login?atsId=AIS5cf83b54a835411ca296333c6d2f086a -
Install the certificate whose public part is registered to JIP/KAAS:
In section Install a new certificate, insert a file with the client certificate in P12 or PEM format, containing the certificate including the private key.
You can get the required format from PFX or P12 using the following command:
openssl pkcs12 -in xxxxxx.pfx -out xxxxxx.pem -nodes -des3Enter the certificate password in the Password field and select Save certificate to confirm. Use similar steps to replace an installed certificate with a new one.
If there is a certificate already installed, you will find its description in section Certificate info.
-
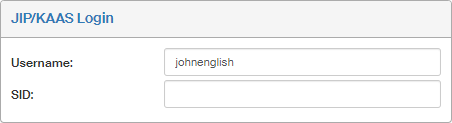
Username settings
Now you need to set the username for every user who will use this authentication type. Go to section and look up the user’s profile. Go to the Actions column, click Edit user, and the User details tab should now contain the JIP/KAAS Login section. Enter the user’s Czech POINT username in the User name field.