Setting up the Sofa 365 Bridge add-in
This chapter describes how to integrate tools for running some Sofa applications – for signing documents and access to data mailboxes – into Microsoft 365 applications (Word and Excel).
To complete the integration, you need to be a user in the Global administrator role – with permissions to install integrated Microsoft 365 applications in Microsoft 365 administration.
Opening the Microsoft 365 admin center
You can install the Sofa 365 Bridge extension in the Microsoft 365 admin center window. Open it in your web browser by going to https://admin.microsoft.com.
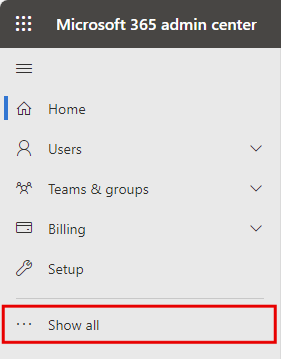
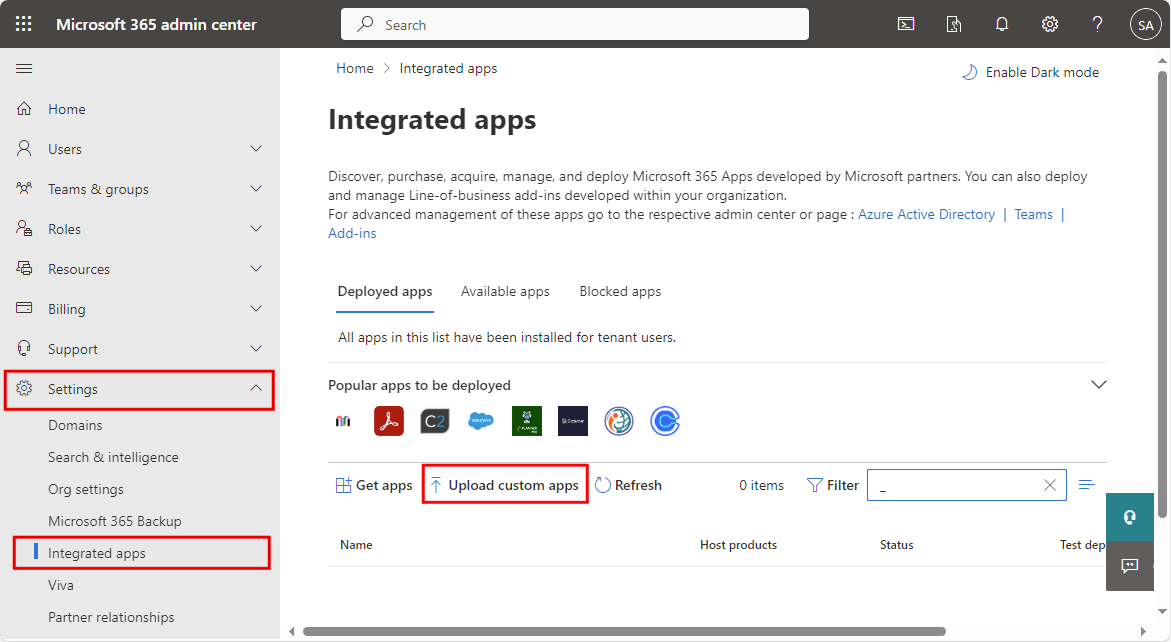
On the left, select Settings and then Integrated apps. If the Settings option is not available, select Show all first.
The Integrated apps window opens.
Deploying the application
In the lower part of the window, select Upload custom apps.
The wizard Deploy New App is displayed. The window consists of several tabs, listed on the left.
On the first tab – Upload custom app – do the following:
-
In field App type, keep (or select) the option Office Add-in. Custom applications can be deployed for Word, Excel, PowerPoint and Outlook only.
-
The following section Choose how to upload app provides two options. Select Provide link to manifest file. Enter the URL for the manifest file in the corresponding field. The address can be for example:
-
Production environment: https://sofa.602.cz/bridge/9d2db9a1-9bab-4659-af70-63657e34be6d/manifest.xml
-
Test environment: https://testsofa.602.cz/bridge/36eacc0b-af6c-4711-a8f9-e1cf82234159/manifest.xml
Copy the address in the Admin center window, in the field Provide link to manifest file.
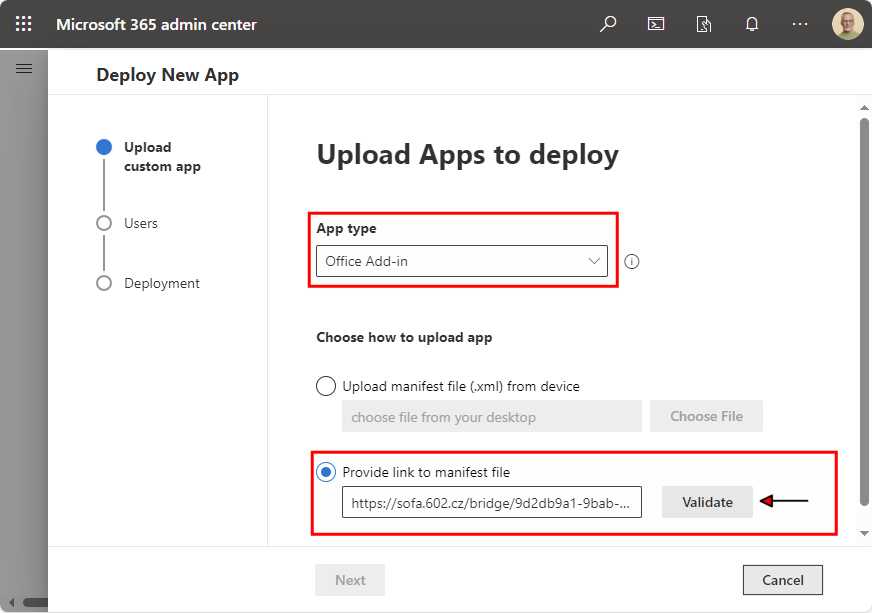
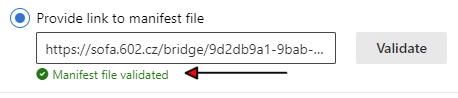
Select Validate and wait for the validation result. If the validation was successful, the message Manifest file validated is displayed in green.
-
Select Next to continue to the Users tab.
Assigning users
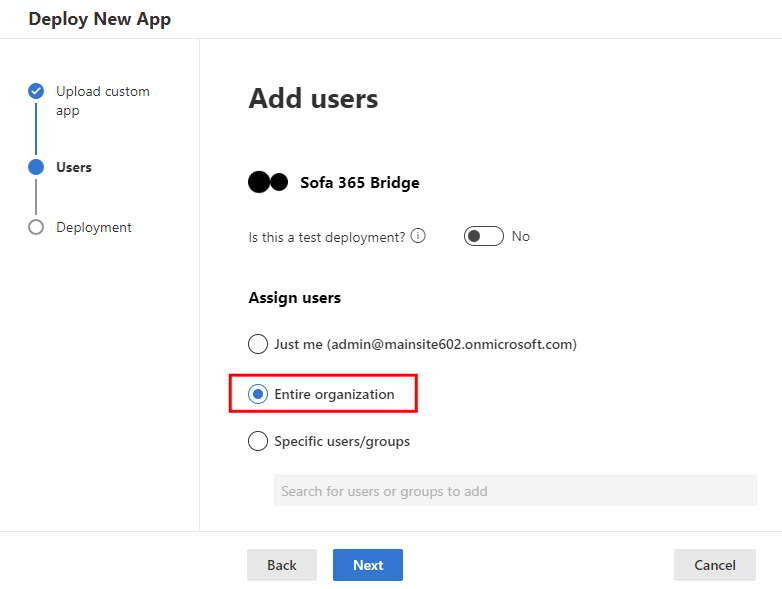
In window Add users, select using a switch whether the deployment is a test one or not.
| If the dialog includes an option to select a test device, it is only recommended to enable it if the application is being deployed as a test for a limited number of users. |
In section Assign users, select the users who will be able to access Sofa 365 Bridge in the organization. There are three options:
-
Just me – the application will only be available to you, the current user (see the address at the end of the option).
-
Entire organization – this option provides access to all users in your organization.
-
Specific users/groups – the application will be available to selected users and groups. Click the field to load and display the list of options. Click an option to select it and display it under the header To be added. Repeat the procedure until you create a list of all users (groups) you want to add.
When you have finished setting up, click the Next button below.
Permission settings
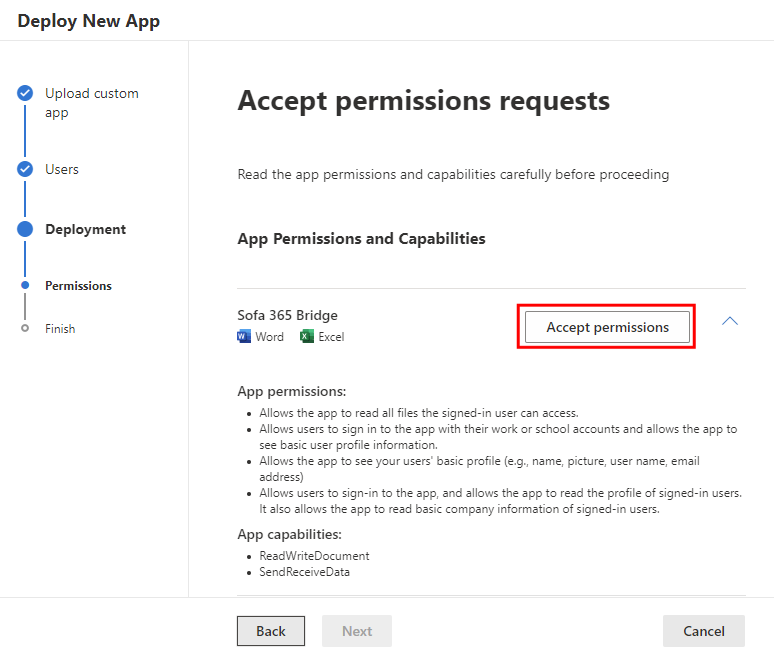
Now you are on the Deployment tab and its Permissions subtab.
We recommend studying the list of App Permissions and Capabilities. If you agree with the listed details, click Accept permissions.
In window Accept permission requests, you need to allow the Sofa Bridge Add-In application access to your data and using it as specified by the terms of service and the statement on personal data protection.
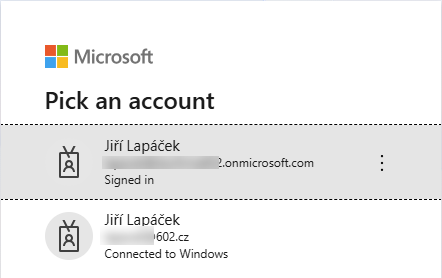
Now confirm your Microsoft account login. Select one of the options (if there is more than one).
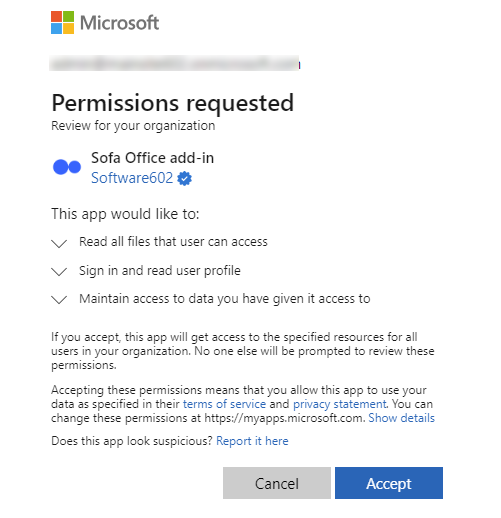
Then confirm your consent with the application getting access to the organization’s data in the scope listed above.
If you give your consent, the application will get access to the given resources for all users in your organization selected on the previous tab. No other users will be prompted to check these permissions.
To confirm your consent, click Accept.
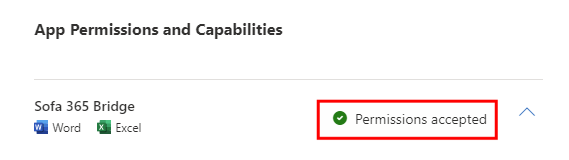
The consent is marked with the indicator Permissions accepted in the Accept permission requests window.
Click Next below.
Finish add-in deployment
Continue to the Deployment tab – Finish subtab.
Check the settings listed there. If something is incorrect, you can use the Back button to return to previous tabs and adjust the settings. Otherwise, select Finish deployment.

When the deployment is complete, the window Deployment completed displays with a green Deployed indicator.
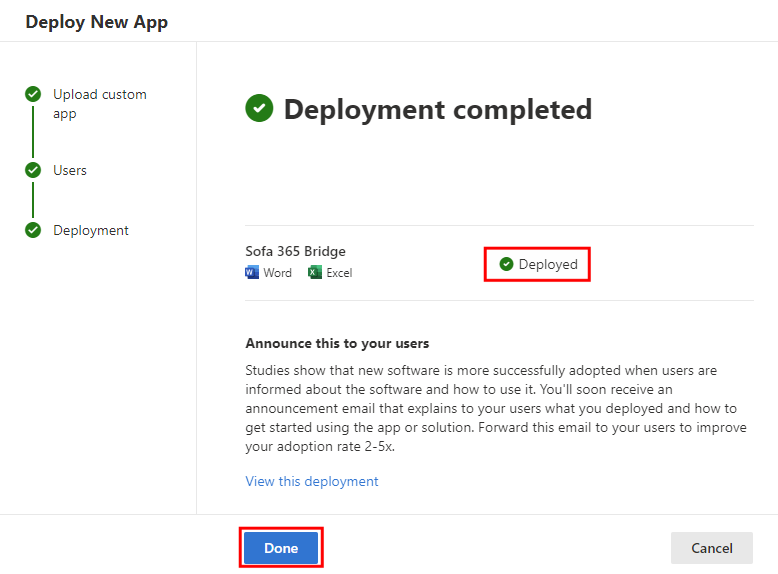
Select Done to complete the deployment.
The deployed application will be displayed in the Admin center window – below in the Integrated apps section.

The application is now deployed. The next step is integrating it in Word and Excel.