Connection for SharePoint
This chapter describes the connection to the SharePoint app.
| Integration to SharePoint is part of the integration projects. Before you start setting it up, get in touch with Software602 technical support. |
Creating a new connection
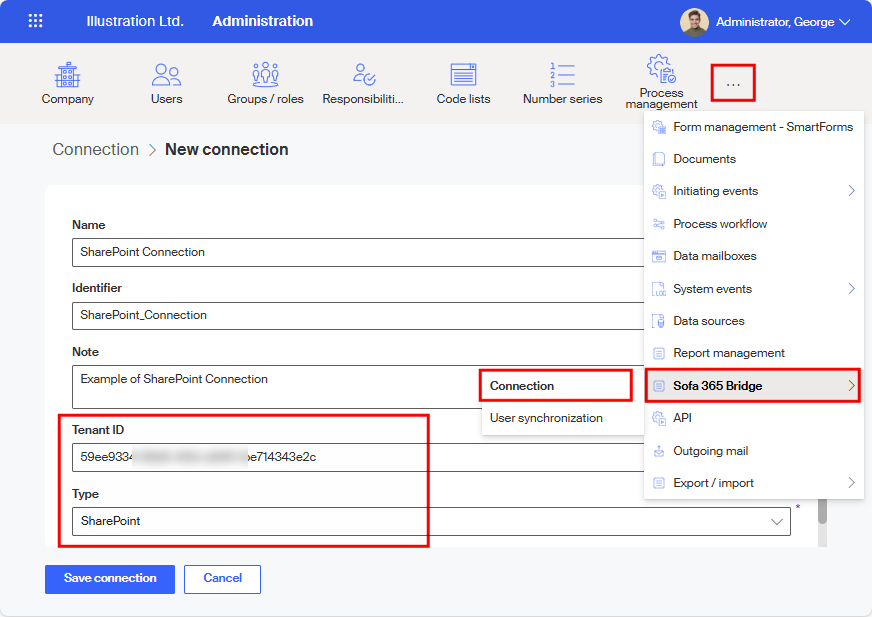
Start in the Administration window by clicking the Sofa 365 Bridge button and then select Connection from the menu.
In the toolbar of the Connection window, click + Add connection to Microsoft 365.
Fill out all mandatory entries in the New connection window.
-
In Name, enter the connection name that will be used when displaying the connection in lists.
-
The default Identifier is created from the Name, but you can adjust it to a preferred string.
| Both these entries are used internally in Sofa and do not need to be unique. |
-
You can also enter any optional description in the Note field.
-
Copy the ID you have learned in chapter How to get organization’s Tenant ID to the Tenant ID field.
-
In Type, select SharePoint.
Select Save connection.
Next, you are asked to authenticate the tenant. Typically you need to log in to the corresponding account first.
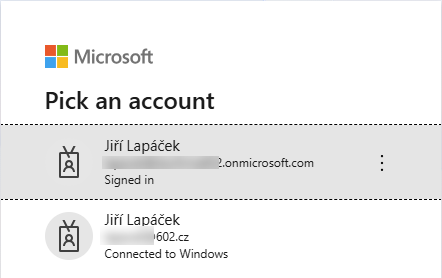
You need to to select the corresponding account before you can continue.
If this is the first time verifying the account, a dialog is displayed with the requirements on permissions that you need to accept and allow so that the apps can connect.
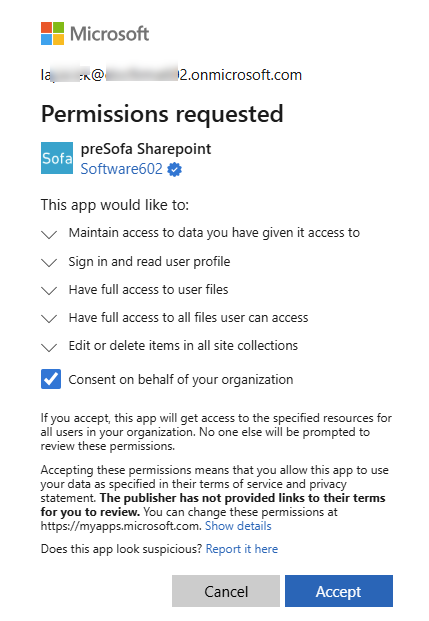
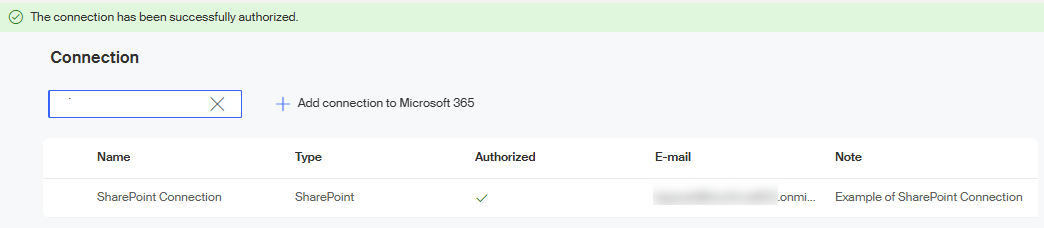
After selecting Accept, a new connection is created. If everything is in order, a green information strip is displayed with the message The connection has been successfully authorized.
Editing a connection
Click on a connection entry with the mouse to select it (a circle with a checkmark is displayed on the left) and a toolbar with four buttons is displayed in the upper part of the window.
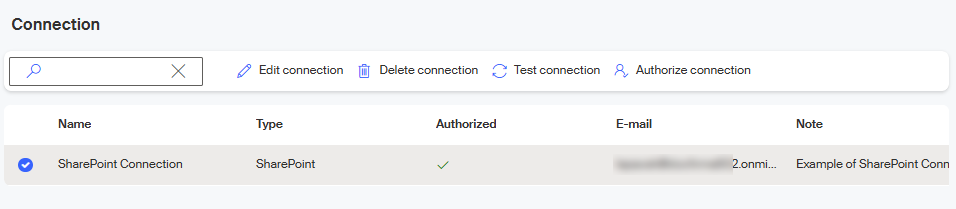
The toolbar buttons have the following meanings:
-
Edit connection – opens the Connection > connection name window similar to the one where you created the connection. Only the Name and Note can be edited.
If you need to change the Tenant ID, delete the current connection and create a new one. -
Delete connection – use this button to delete these connection settings permanently, following a confirmation query.
-
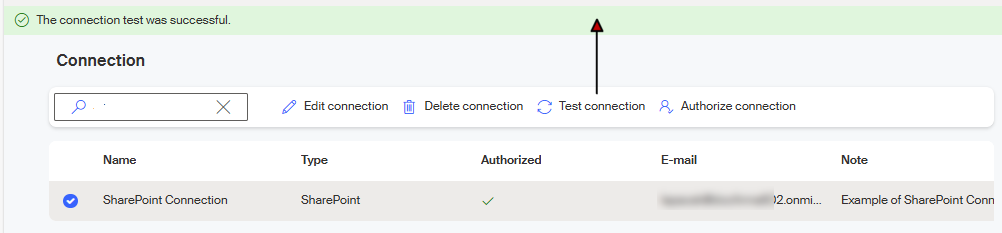
Test connection – checks that the connection is working. A message in the information strip shows the test result.
-
Authorize connection – following a confirmation query, the connection is authorized in the same way as when creating a new one. The authorization requires confirming your Microsoft account.
