Deploying Sofa to Teams
This chapter describes how to incorporate the Sofa app directly to Microsoft Teams environment.
The whole process consists of deploying individual partial apps, used at the level of individual teams in Teams, and deploying a "personal app" valid for the whole organization in Teams.
To implement Sofa in the Microsoft Teams environment, you need to start by deploying the partial apps.
| If you start by deploying the personal app, the request to grant permission to use the app will end with an error. |
Apps are deployed using "app manifests", which is data stored as files in the ZIP archive format. They are primarily available on the web using their URL addresses, which you can find below. It may be useful (but not necessary) to download the manifest files onto your computer drive before starting. Enter the URL address in your browser and the file downloads in the location set in your browser (typically the Downloads folder).
General app deployment procedure
The steps to deploy are the same for all apps. As an example, we will demonstrate deploying the partial app to handle a data box.
-
Its manifest for a production environment is available at:
https://sofa.602.cz/bridge/b12c877c-d51a-4cf1-971b-59e802b1cea9/teamssofaczechdatabox.zip -
For a test environment:
https://testsofa.602.cz/bridge/364b82f1-e6c6-477a-b704-e68434c7e1b4/teamssofaczechdatabox.zip
Install the app to the Teams environment in the Microsoft 365 admin center window. The address is: https://admin.microsoft.com/
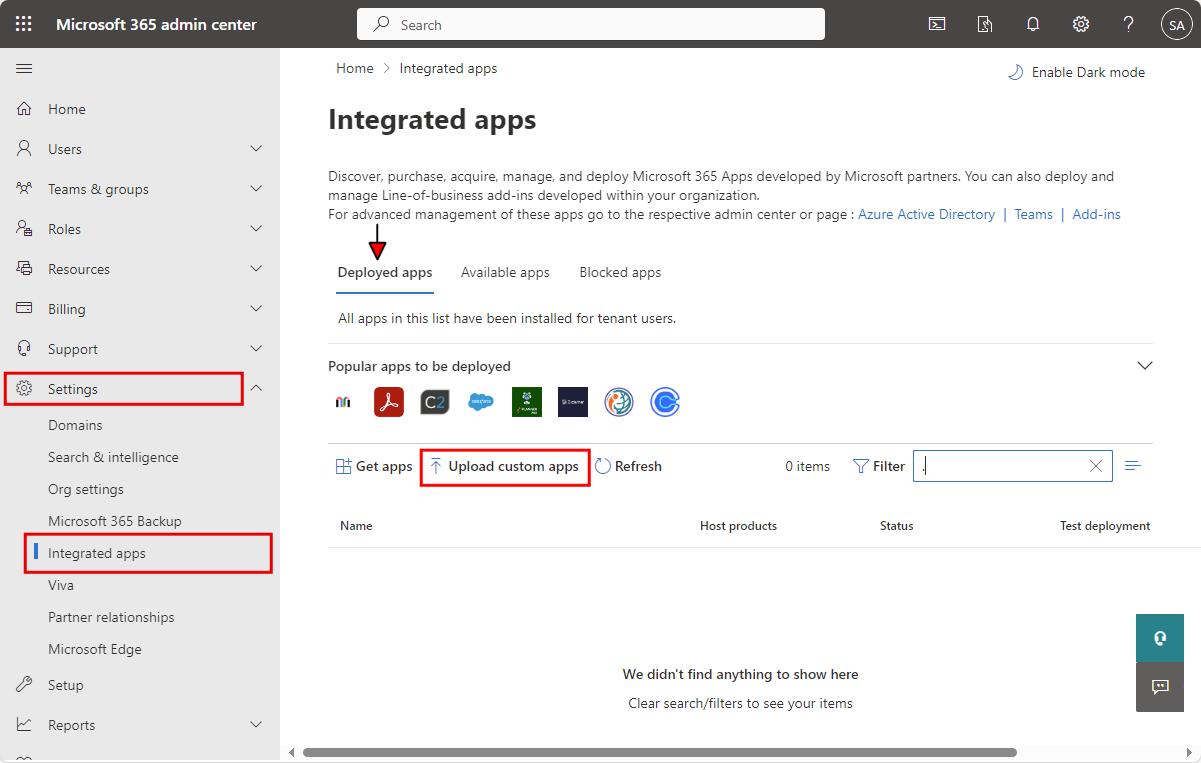
On the left in the admin center window, select Settings. If the option is not visible, select Show all first. A sub-menu is displayed. Select Integrated apps.
To deploy a new app, open the Deployed apps tab and select Upload custom app.
A wizard opens to guide you through the deployment of a new app. The setup is divided into several tabs.
Selecting the app manifest file
Upload a file with the "app manifest" on the first tab – Upload custom app. Do the following:
-
In App type, select or keep Teams app.
-
In Upload manifest file (.zip), specify the file containing the app manifest. The file must be in the ZIP archive format.
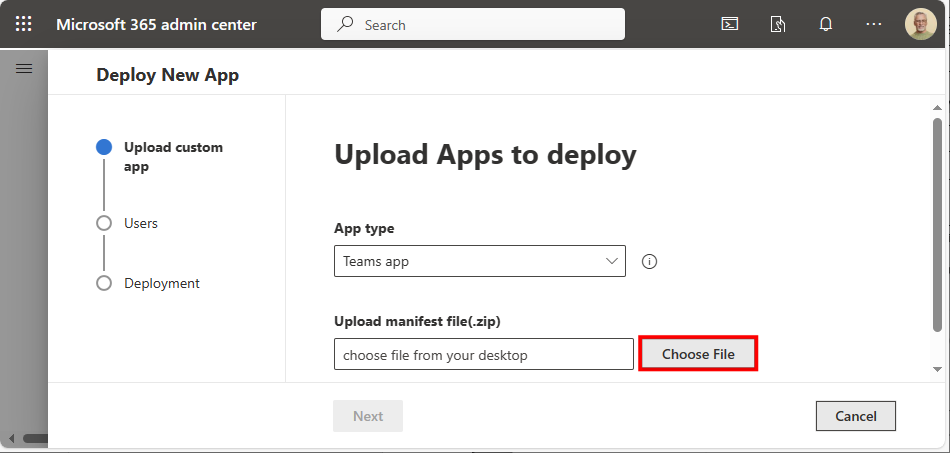
Select Choose file, look up the ZIP manifest file in the file selection dialog and select Open.

The manifest file is uploaded and checked. If the check is successful, the message Manifest file validated is displayed in green.

Otherwise, an error message is displayed with a red indicator and the process cannot continue.

Select Next in the lower left corner to continue to the next tab.
App configuration
The second tab, Configuration, is used to set up the app. In this case there are no settings needed. You can check in Host products section that the app is intended for Microsoft Teams environment. The tab displays the partial app name: sofaCzechDataBox.
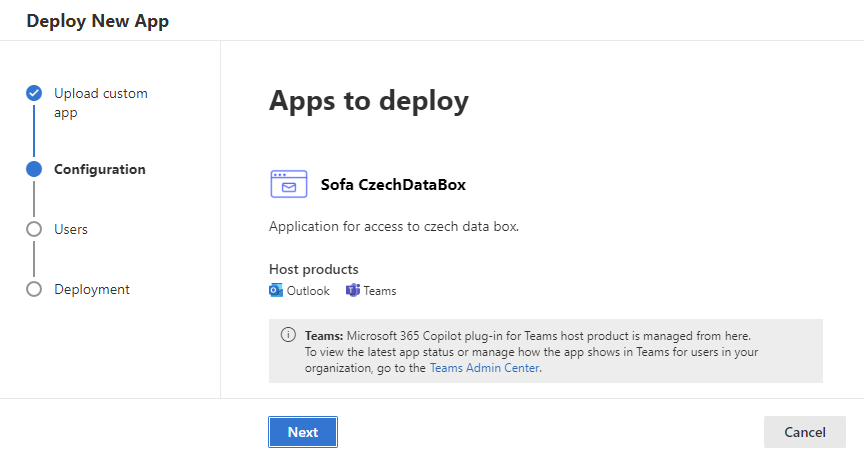
Select Next to continue to the next tab.
Selecting the users
On the third tab, Users, select the users of your organization to get access to the app in Teams. There are three options for the Assign users switch:
-
Just me – the app will only be available to you, the user logged in using the name given in the brackets.
-
Entire organization – the app will be available to all users in your organization.
-
Specific users/groups – the app will be available to selected users and groups. The field below this option can be used to select the users and groups.
Select Entire organization.
Keep the field Is this a test deployment? switched to No. In a test deployment, you might encounter e.g. a limit in the number of users.
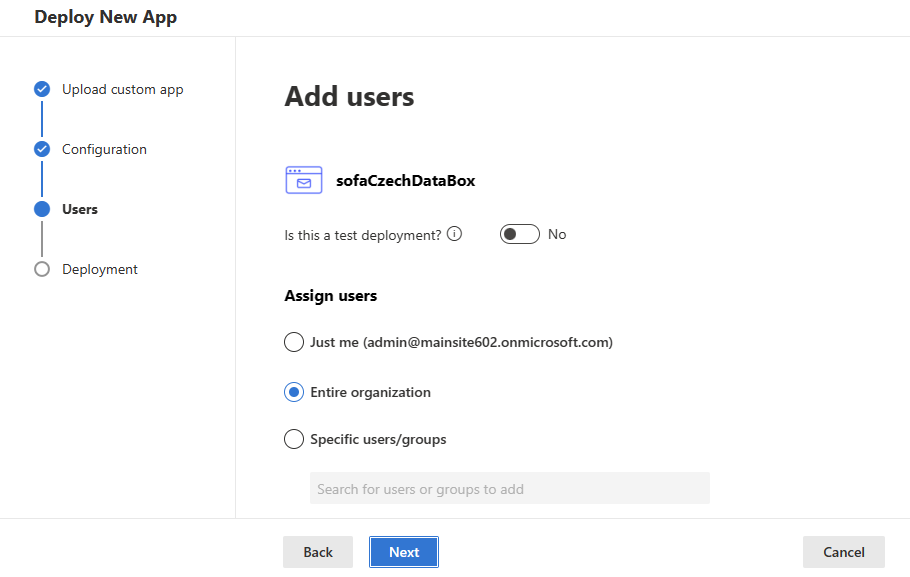
Select Next to continue to the next tab.
More options
The fourth tab, Deployment, is divided to two sub-tabs: Permissions and Finish.
Setting up permissions
On the Permissions sub-tab, approve the permissions to grant to the newly installed partial app. They are the following permissions:
-
Allows the app to display your users' basic profile (e.g., name, picture, user name, email address).
-
Allows users to sign in to the app, and allows the app to read the profile of signed-in users. It also allows the app to read basic company information of signed-in users.
-
Allows users to sign in to the app with their work or school accounts and allows the app to see basic user profile information.
-
Allows the app to read primary e-mail addresses of signed-in users.
| You can use the arrow symbol to hide or expand details listed in the lower half of the tab. |
On the tab, select Accept permissions.
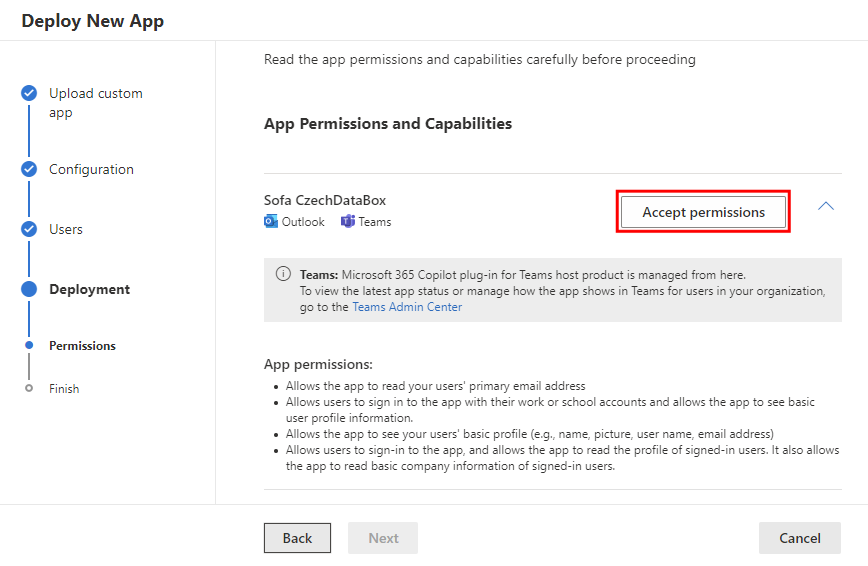
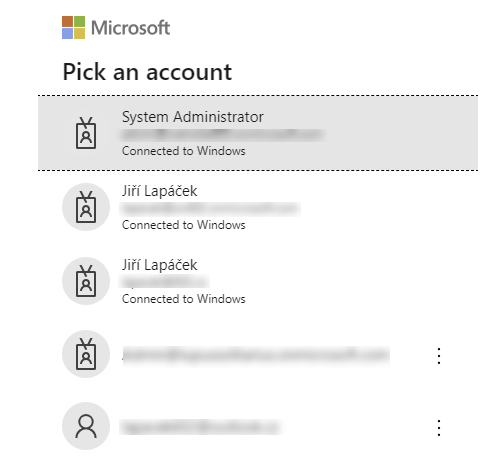
A check of your current user name may follow.
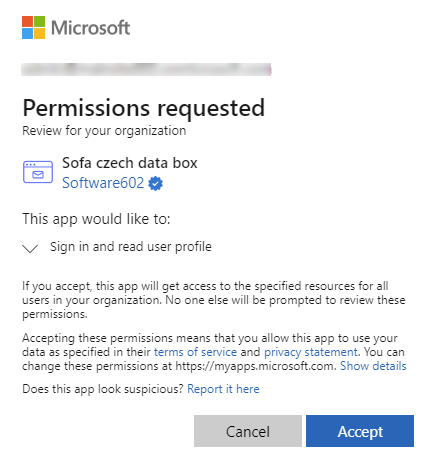
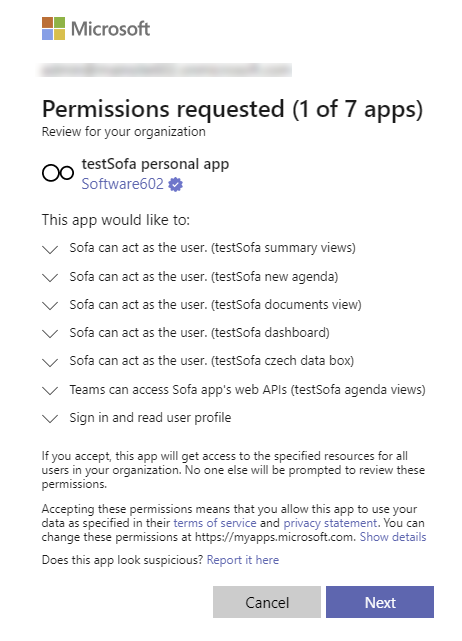
The dialog Permissions requested is then displayed with information and links for the permissions to be granted. Section This app would like to lists operations you need accept permission to in this dialog so that the app can work correctly. The list varies based on the specific app being deployed.
Select Accept to accept all listed permissions.
Granting the permissions is noted on the Permissions tab with the message Permissions accepted.

Select Next to continue to the last tab of the wizard.
Finishing the deployment
The app deployment ends on the last tab, Finish.
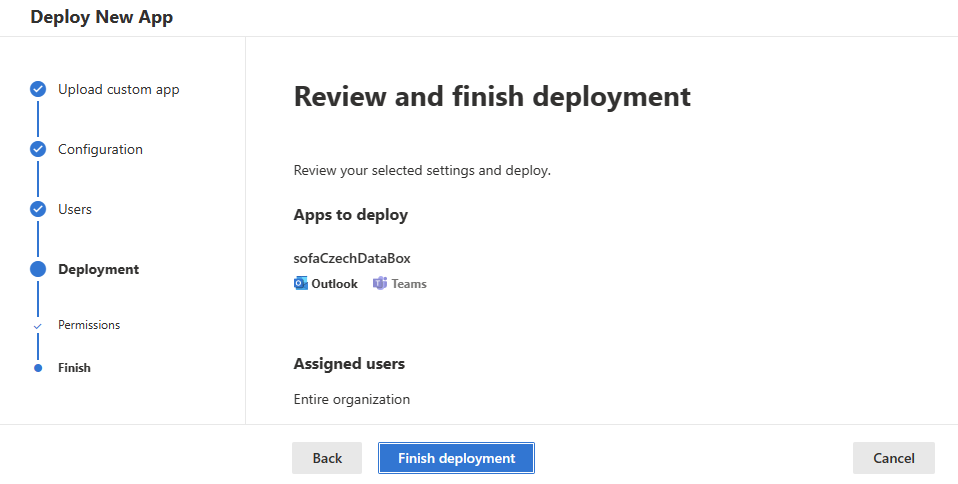
The tab displays an overview of app settings:
-
In section Apps to deploy, check that the app will run in Teams and Outlook environment.
-
Section Assigned users shows that the app will be available to all users in your organization.
Select Finish deployment to deploy the app.
A successful app deployment is announced by the message Deployment completed with a green indicator.
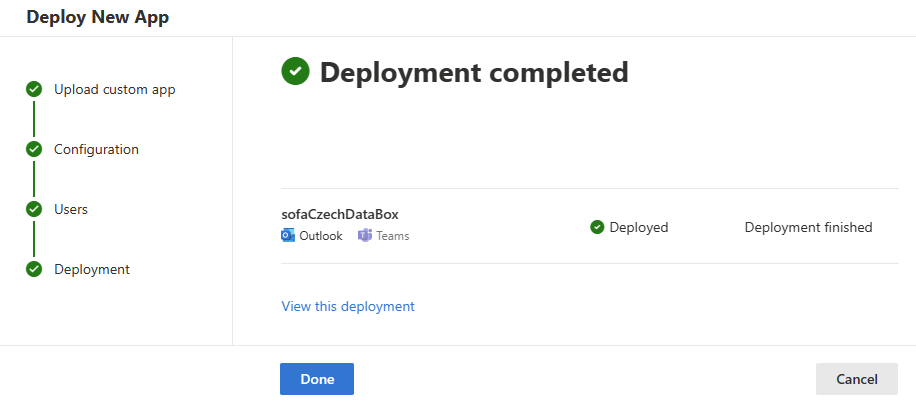
Select Done to complete deploying the app. You will return to the Integrated apps window, where the freshly deployed app is listed on the Deployed apps tab.

Deploying other partial apps
Repeat the procedure from the previous group for all other partial apps.
Production environment:
-
New Agenda – https://sofa.602.cz/bridge/7189b41a-c233-4f6f-abf0-15a5748fd75f/sofanewagenda.zip
-
Summary View – https://sofa.602.cz/bridge/17010921-f52f-4d4c-8bd3-8a99b84943e0/SofaSummaryView.zip
-
Dispatcher – https://sofa.602.cz/bridge/23260af2-7596-4059-bd65-9851d21edfe8/sofadispatcher.zip
-
Agenda Views – https://sofa.602.cz/bridge/6c8fa5c4-bea3-4a5a-801d-d964f60197ae/sofaagendaviews.zip
-
Documents View – https://sofa.602.cz/bridge/0b508ffa-b0b5-4736-ad33-3ae3ff898428/sofadocumentsview.zip
Test environment:
-
New Agenda – https://testsofa.602.cz/bridge/1e669643-dd36-4ef3-b8e3-cd80fbbed856/sofanewagenda.zip
-
Summary View – https://testsofa.602.cz/bridge/a69a8e97-e1ab-46f3-953c-cf572a30e625/SofaSummaryView.zip
-
Dispatcher – https://testsofa.602.cz/bridge/79ce029b-6e79-4713-93bb-c7ac22f8f84e/sofadispatcher.zip
-
Agenda Views – https://testsofa.602.cz/bridge/06630b4f-d9f0-4e12-9cb3-c55cc95c8ee1/sofaagendaviews.zip
-
Documents View – https://testsofa.602.cz/bridge/4c72ea59-cbff-4c5c-8f3a-70bfffa561f2/sofadocumentsview.zip
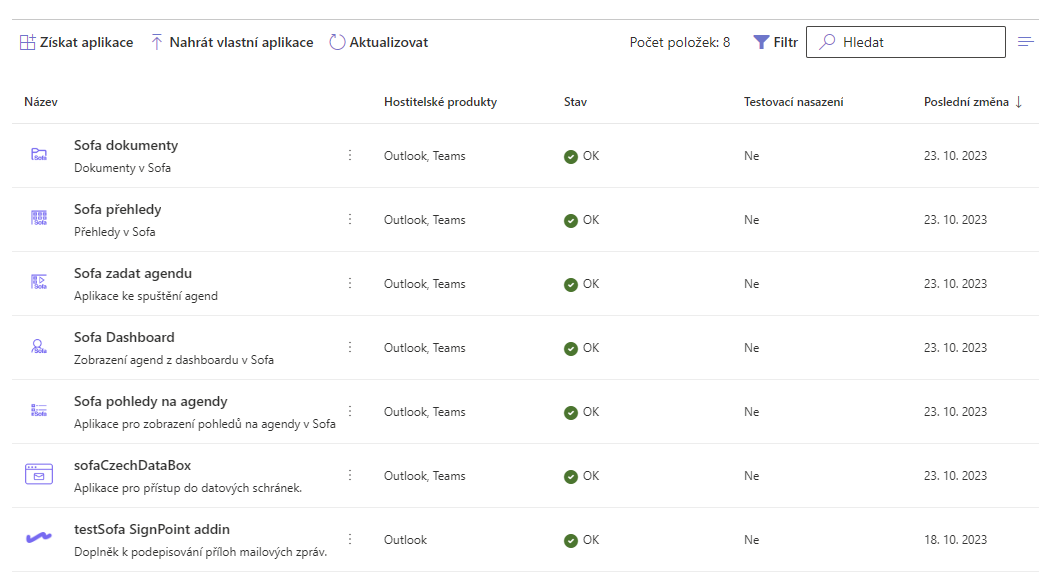
Overview of all deployed partial apps is displayed in the Integrated apps window.
Deploying the personal app
| This manifest must be deployed last, after the partial app manifests! |
Download the manifest file for this app from the following URL:
-
For production environment: https://sofa.602.cz/bridge/teams/Sofa.zip
-
For test environment: https://testsofa.602.cz/bridge/teams/TestSofa.zip
The deployment is analogical to the procedure for partial apps, described above. Note the following small differences:
Information displayed on the Configuration tab in section Apps to deploy is slightly different – there is additional information on deployment to the whole Microsoft 365 environment.
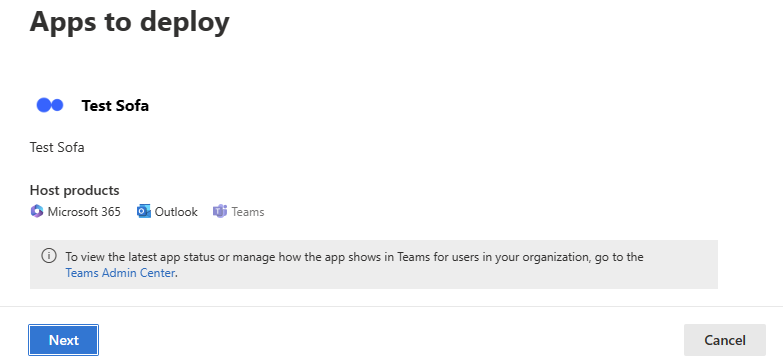
On the Permissions tab, select the Accept permissions button and continue to allow this app and all partial apps.
Confirm the apps one by one by selecting Next.
All accepted permissions are then listed on the Deployment – Permissions tab.
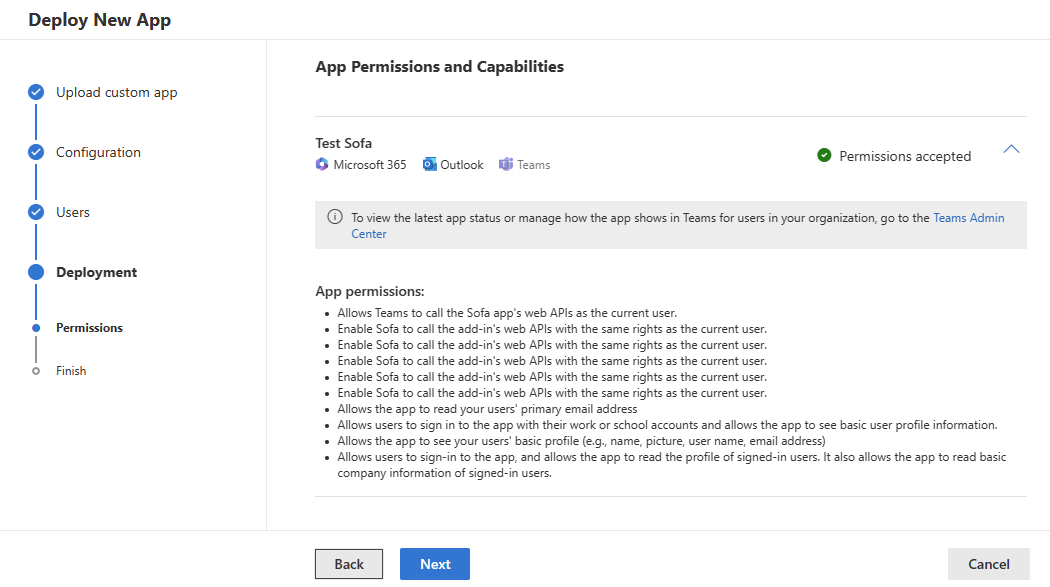
Finish the deployment on the Deployment – Finish tab.
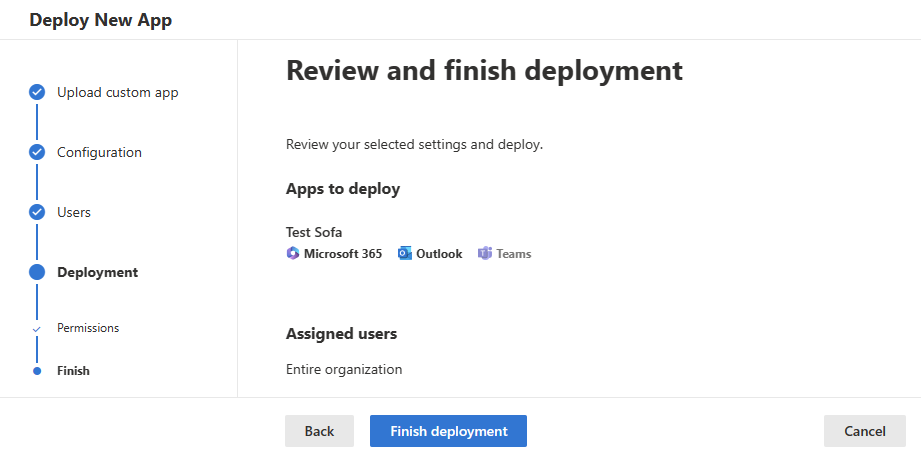
Select Finish deployment. A moment later, the message Deployment completed appears, and you can select Done to finish the personal app deployment.
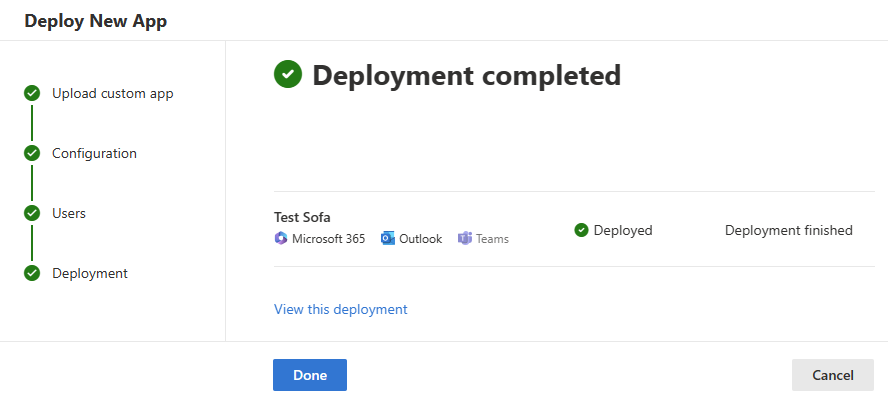
The Integrated apps screen displays a list of all deployed apps – the personal app as well as all partial apps.

Sofa setup in Teams environment
Once the Sofa app is installed, you need to enable it in Microsoft Teams environment.
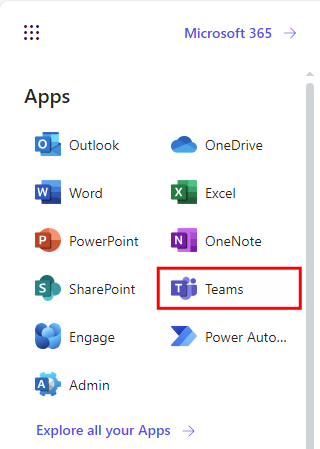
Use the menu under the button with nine dots in the upper left corner of Microsoft 365 admin center to display a menu and select Teams.
A window might open where you can select between downloading a desktop version for Windows and running Teams as a web app.
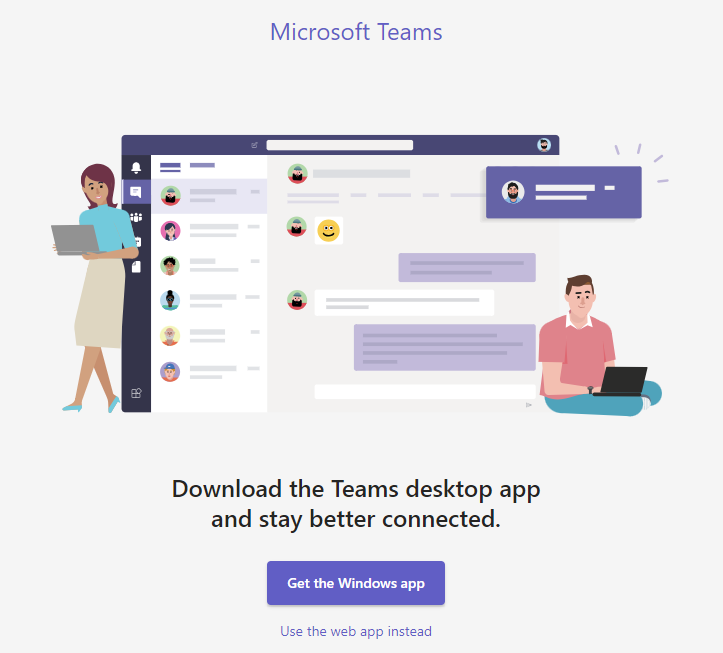
Select one of the options – they are very similar to use.
In the Teams window on the left, select Apps. A window opens with a list of apps to install. Select the menu option Built for your org – it displays a list of all apps intended directly for your company, which includes all the recently added Sofa apps.
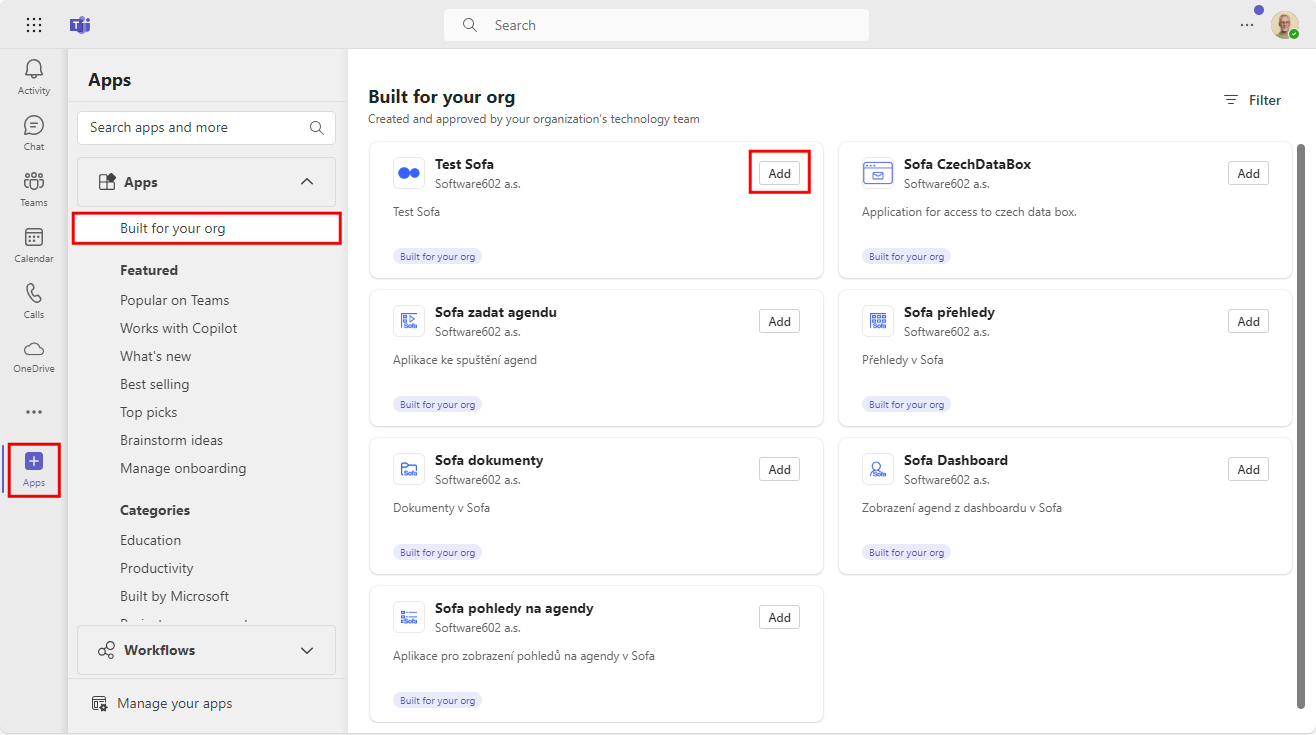
For each entry in the list you want to add, select Add and then confirm by selecting Add in the upper part of the following window.
We’ll start by installing the Test Sofa app, which you’ll find as an entry under the same name. Select Add next to the entry.

| This is the way to add Sofa to Teams for the whole organization (all teams). To make it available to selected teams only, right-click the right end of the button (with the arrow) and select Add to team. |
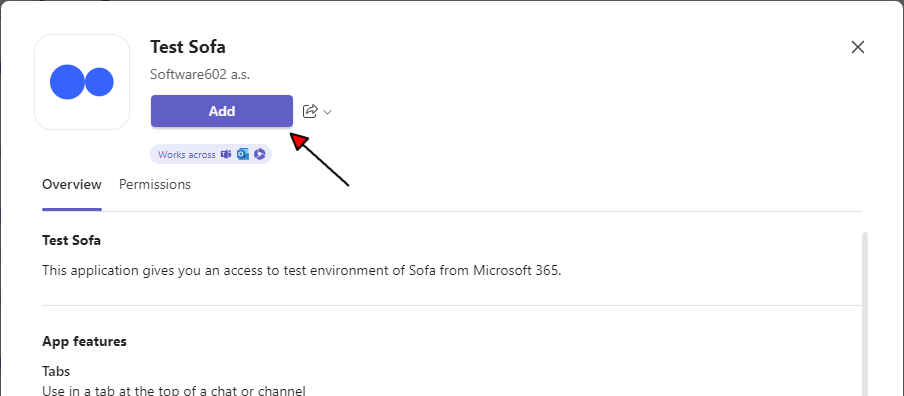
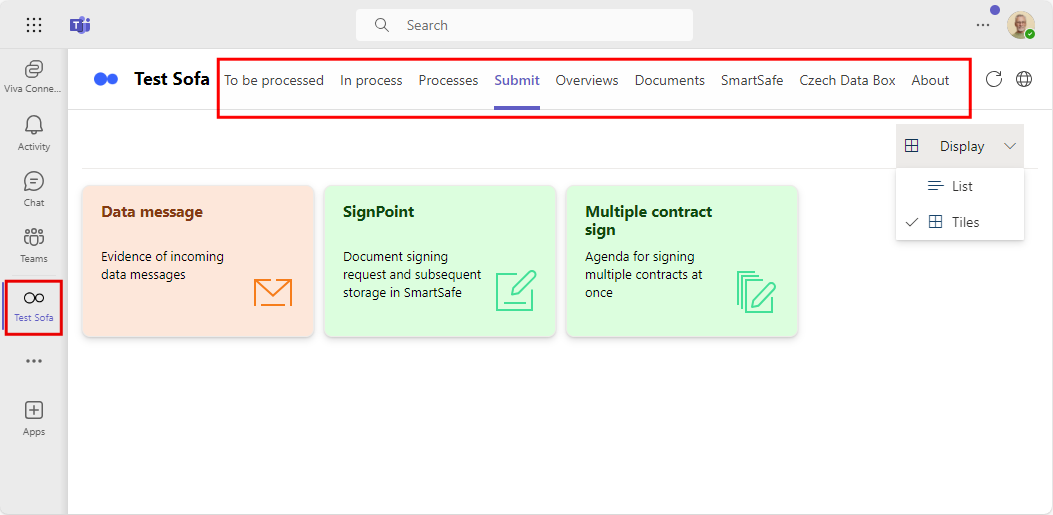
Sofa then immediately integrates in the Teams environment. The Sofa window opens with its toolbar. To open the window anytime later, select Test Sofa on the left.
